本机安装Sonarqube
- 下载 钉盘 - 网聚宝开发指南-资源 - Common 将Sonarqube.6.2.zip 下载到本机并解压。
- 安装mysql
- 去 钉盘 - 网聚宝开发指南-资源 根据你的系统下载对应 MySQL 安装包。
- 点开进行安装,记住安装好的时候 弹出的root 的密码。
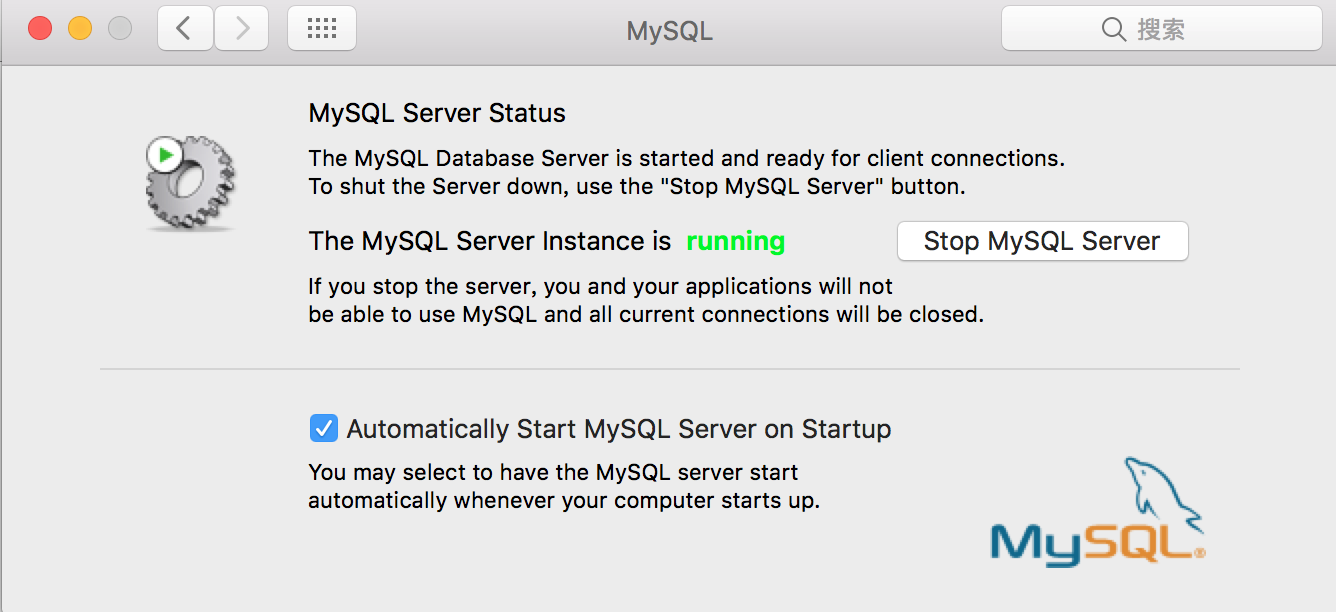
- 进入系统偏好设置,点击mysql,开启mysql服务。
- 此时我们在命令行输入mysql -uroot -p命令会提示没有commod not found,我们还需要将mysql加入系统环境变量。
- 进入/usr/local/mysql/bin,查看此目录下是否有mysql。
- 终端 命令行 中执行
vim ~/.bash_profile在该文件中添加mysql/bin的目录,见pic7: PATH=$PATH:/usr/local/mysql/bin 添加完成后,按esc,然后输入wq保存。 最后在命令行输入source ~/.bash_profile
- 终端 输入
mysql -uroot -p进行登录,密码就是之前 安装时记住的密码。 - 登录成功后,使用以下命令 进行修改 root 密码。
SET PASSWORD FOR 'root'@'localhost' = PASSWORD('newpass');
配置sonar 中的mysql配置项
修改sonarqube的配置
%SONARQUBE_HOME%/conf/sonar.properties----- MySQL 5.6 or greater Only InnoDB storage engine is supported (not myISAM). Only the bundled driver is supported. It can not be changed. sonar.jdbc.url=jdbc:mysql://localhost:3306/sonar?useUnicode=true&characterEncoding=utf8&rewriteBatchedStatements=true&useConfigs=maxPerformance ----- Global database settings sonar.jdbc.username=sonar sonar.jdbc.password=sonar ----- Default source code encoding sonar.sourceEncoding=UTF-8 ----- Security (when 'sonar.forceAuthentication' is set to 'true') sonar.forceAuthentication=true sonar.login=admin sonar.password=admin
- 使用以下脚本创建数据库
create database if not exists sonar character set utf8; CREATE USER 'sonar'@'%' IDENTIFIED BY 'sonar'; CREATE USER 'sonar'@'localhost' IDENTIFIED BY 'sonar'; grant all privileges on sonar.* to 'sonar'@'%' identified by 'sonar'; grant all privileges on sonar.* to 'sonar'@'localhost' identified by 'sonar'; flush privileges; - 启动sonar:
sh %SONARQUBE_HOME%/bin/macosx-universal-64/sonar.sh start- 请将
%SONARQUBE_HOME%替换成sonar安装目录 - macosx-universal-64 视具体操作系统而定
- 测试 Sonar 链接,在浏览器中输入 http://localhost:9000/,可以看到sonarqube 的首页,就安装成功了。

- 测试 Sonar 链接,在浏览器中输入 http://localhost:9000/,可以看到sonarqube 的首页,就安装成功了。
服务器实例 安装Sonarqube
- 下载 Sonarqube
- 使用下面命令将sonarqube 压缩包下载到服务器。
wget https://sonarsource.bintray.com/Distribution/sonarqube/sonarqube-6.2.zip
- 使用下面命令将sonarqube 压缩包下载到服务器。
安装mysql
- CentOS 6.5 默认yum只能安装mysql 5.1。安装前要检查机器原来是否安装过mysql,如有安装需要先进行数据备份、清理。
yum list installed | grep mysql ps -ef|grep mysql service mysqld stop rpm -e mysql-libs --nodeps yum -y remove mysql mysql-* - 设置安装源
wget http://repo.mysql.com/mysql57-community-release-el6-8.noarch.rpm rpm -ivh mysql57-community-release-el6-8.noarch.rpm ls -1 /etc/yum.repos.d/mysql-community* yum repolist all | grep mysql vi /etc/yum.repos.d/mysql-community.repo 将[mysql56-community]的enabled设置为1,[mysql57-community]的enabled设置为0 ### yum repolist enabled | grep mysql mysql-connectors-community MySQL Connectors Community 21 mysql-tools-community MySQL Tools Community 37 mysql56-community MySQL 5.6 Community Server 265 - 安装 mysql
yum -y install mysql-server mysql 修改默认配置
# mkdir /data/mysql # vi /etc/my.cnf [mysqld] datadir=/data/mysql socket=/tmp/mysql.sock symbolic-links=0 sql_mode=NO_ENGINE_SUBSTITUTION,STRICT_TRANS_TABLES [mysqld_safe] log-error=/var/log/mysqld.log pid-file=/var/run/mysqld/mysqld.pid [client] socket=/tmp/mysql.sock- 启动服务 ,密码 为 服务器用户登录密码
service mysqld start - 检查启动是否成功
netstat -ano |grep 3306
- CentOS 6.5 默认yum只能安装mysql 5.1。安装前要检查机器原来是否安装过mysql,如有安装需要先进行数据备份、清理。
配置sonar 中的mysql配置项
修改sonarqube的配置
%SONARQUBE_HOME%/conf/sonar.properties----- MySQL 5.6 or greater Only InnoDB storage engine is supported (not myISAM). Only the bundled driver is supported. It can not be changed. sonar.jdbc.url=jdbc:mysql://[服务器地址]:3306/sonar?useUnicode=true&characterEncoding=utf8&rewriteBatchedStatements=true&useConfigs=maxPerformance ----- Global database settings sonar.jdbc.username=sonar sonar.jdbc.password=sonar ----- Default source code encoding sonar.sourceEncoding=UTF-8 ----- Security (when 'sonar.forceAuthentication' is set to 'true') sonar.forceAuthentication=true sonar.login=admin sonar.password=admin
- 使用以下脚本创建数据库
create database if not exists sonar character set utf8; CREATE USER 'sonar'@'%' IDENTIFIED BY 'sonar'; CREATE USER 'sonar'@'localhost' IDENTIFIED BY 'sonar'; grant all privileges on sonar.* to 'sonar'@'%' identified by 'sonar'; grant all privileges on sonar.* to 'sonar'@'localhost' identified by 'sonar'; flush privileges; - 启动sonar:
sh %SONARQUBE_HOME%/bin/linux-x86-64/sonar.sh start- 请将
%SONARQUBE_HOME%替换成sonar安装目录 - linux-x86-64 视具体操作系统而定
- 测试 Sonar 链接,在浏览器中输入
http://[服务器地址]:9000/,可以看到sonarqube 的首页,就安装成功了。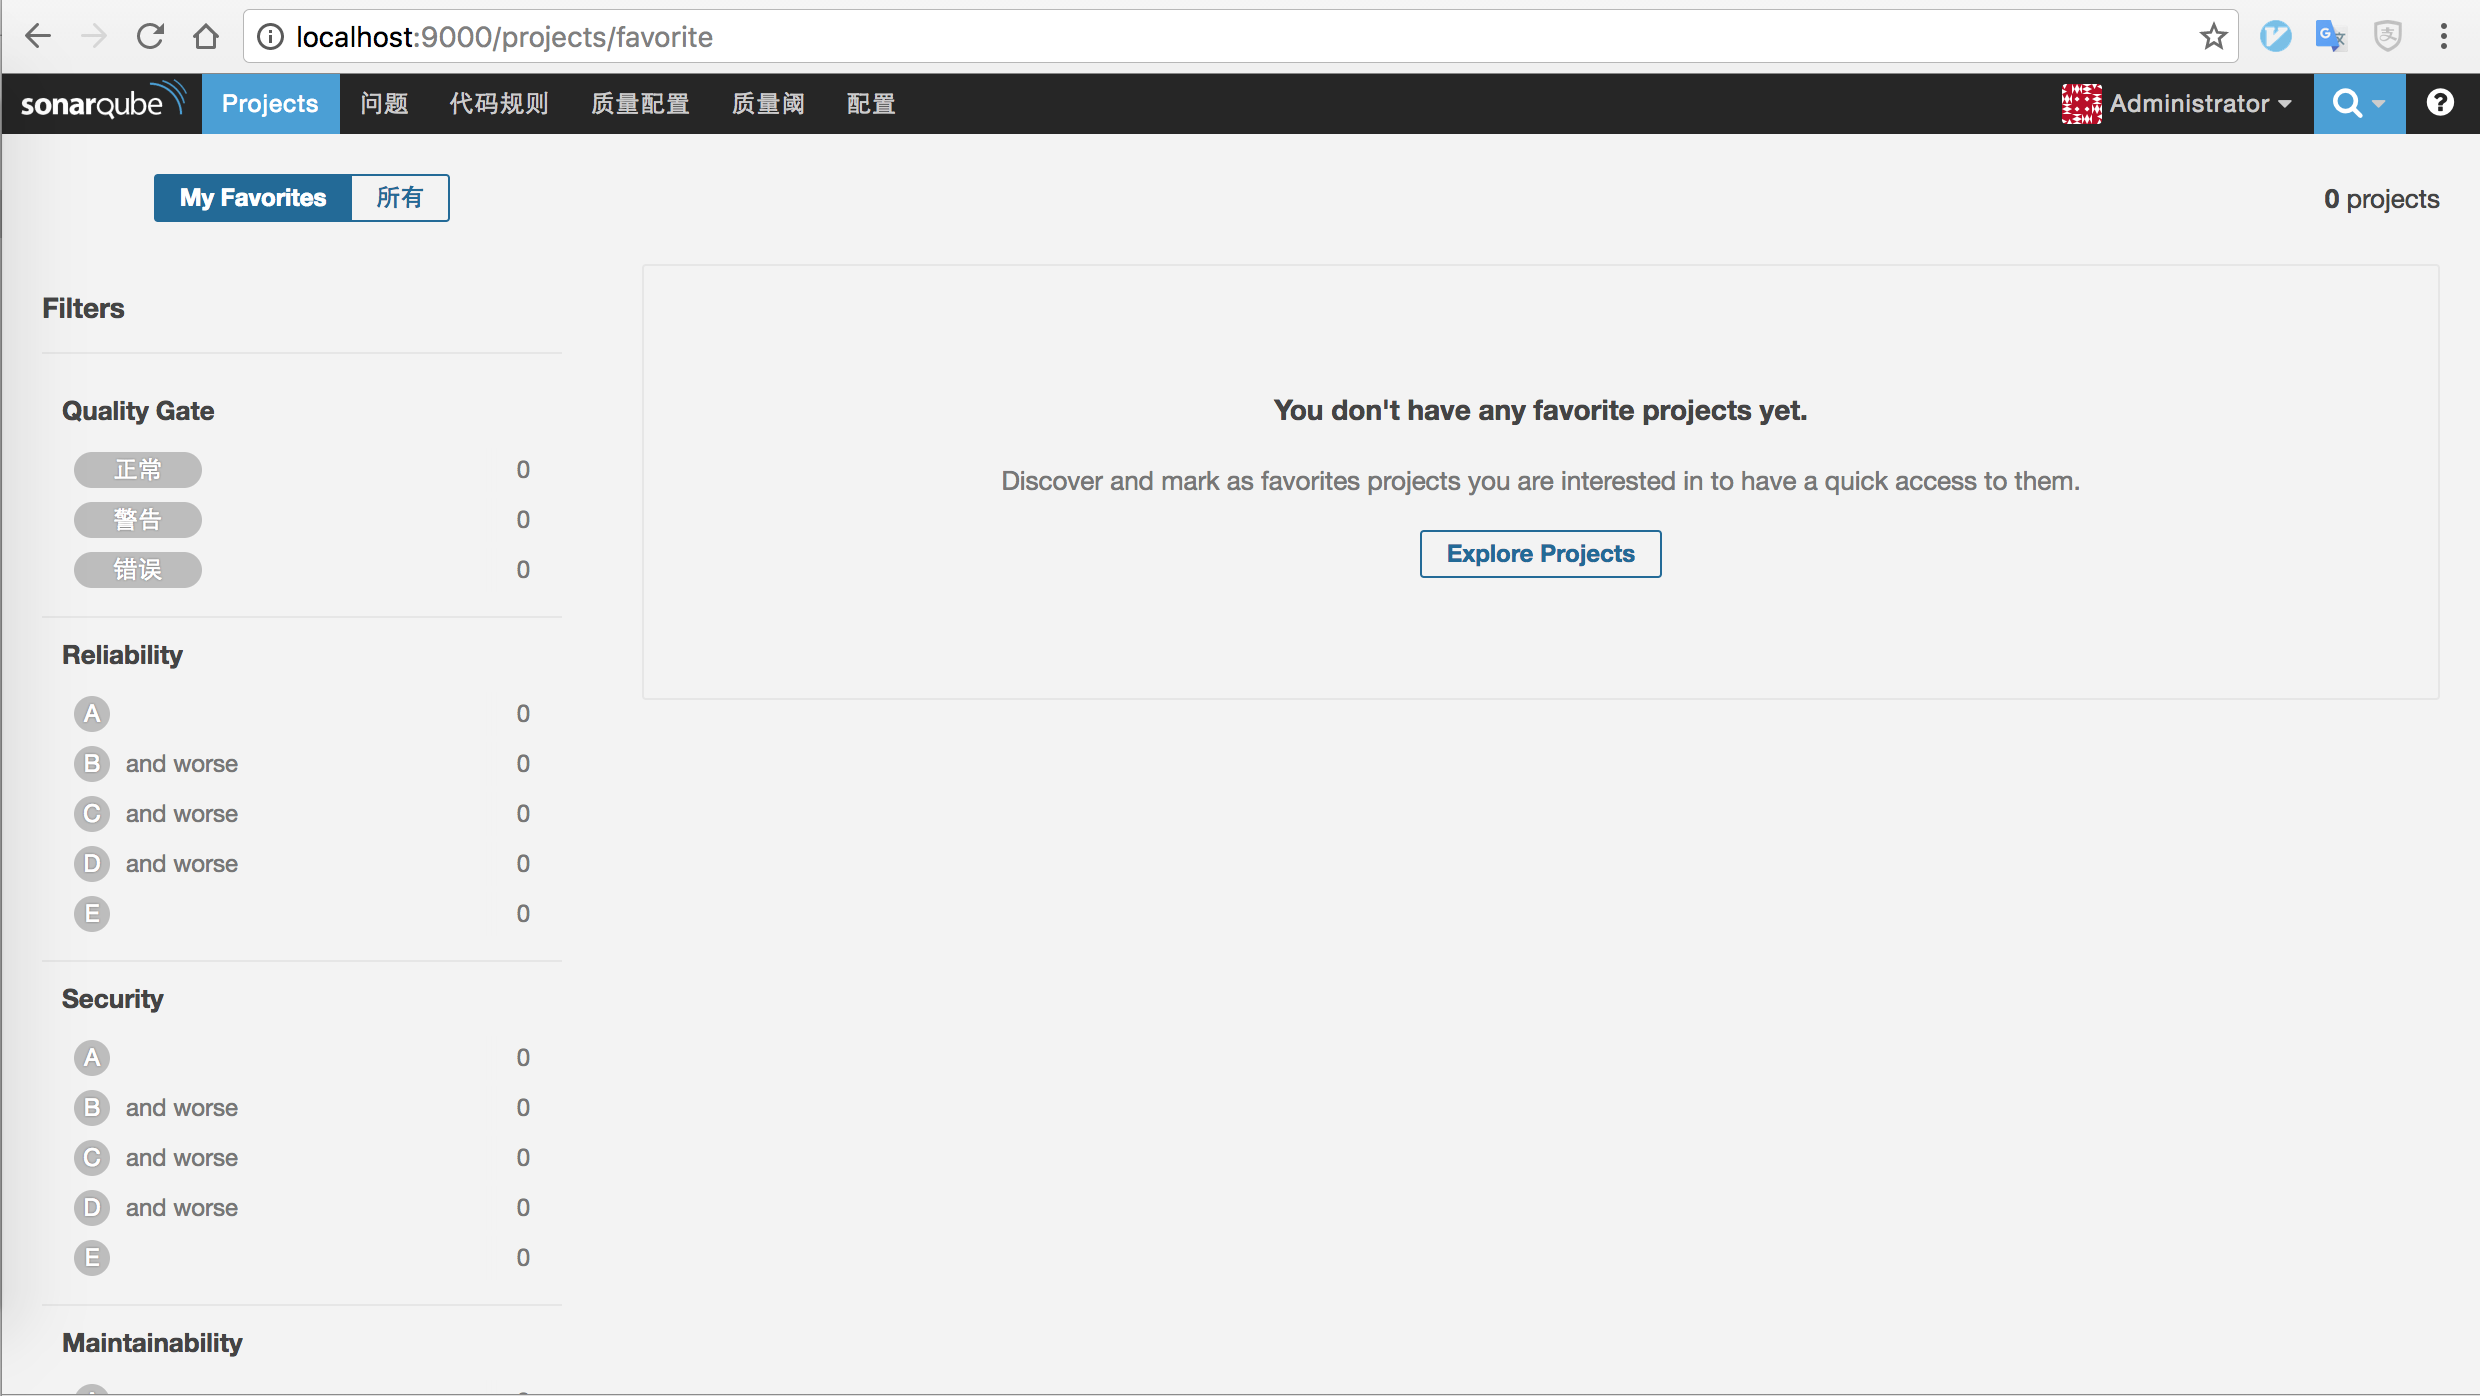
- 测试 Sonar 链接,在浏览器中输入
IDEA 安装SonarLint 插件
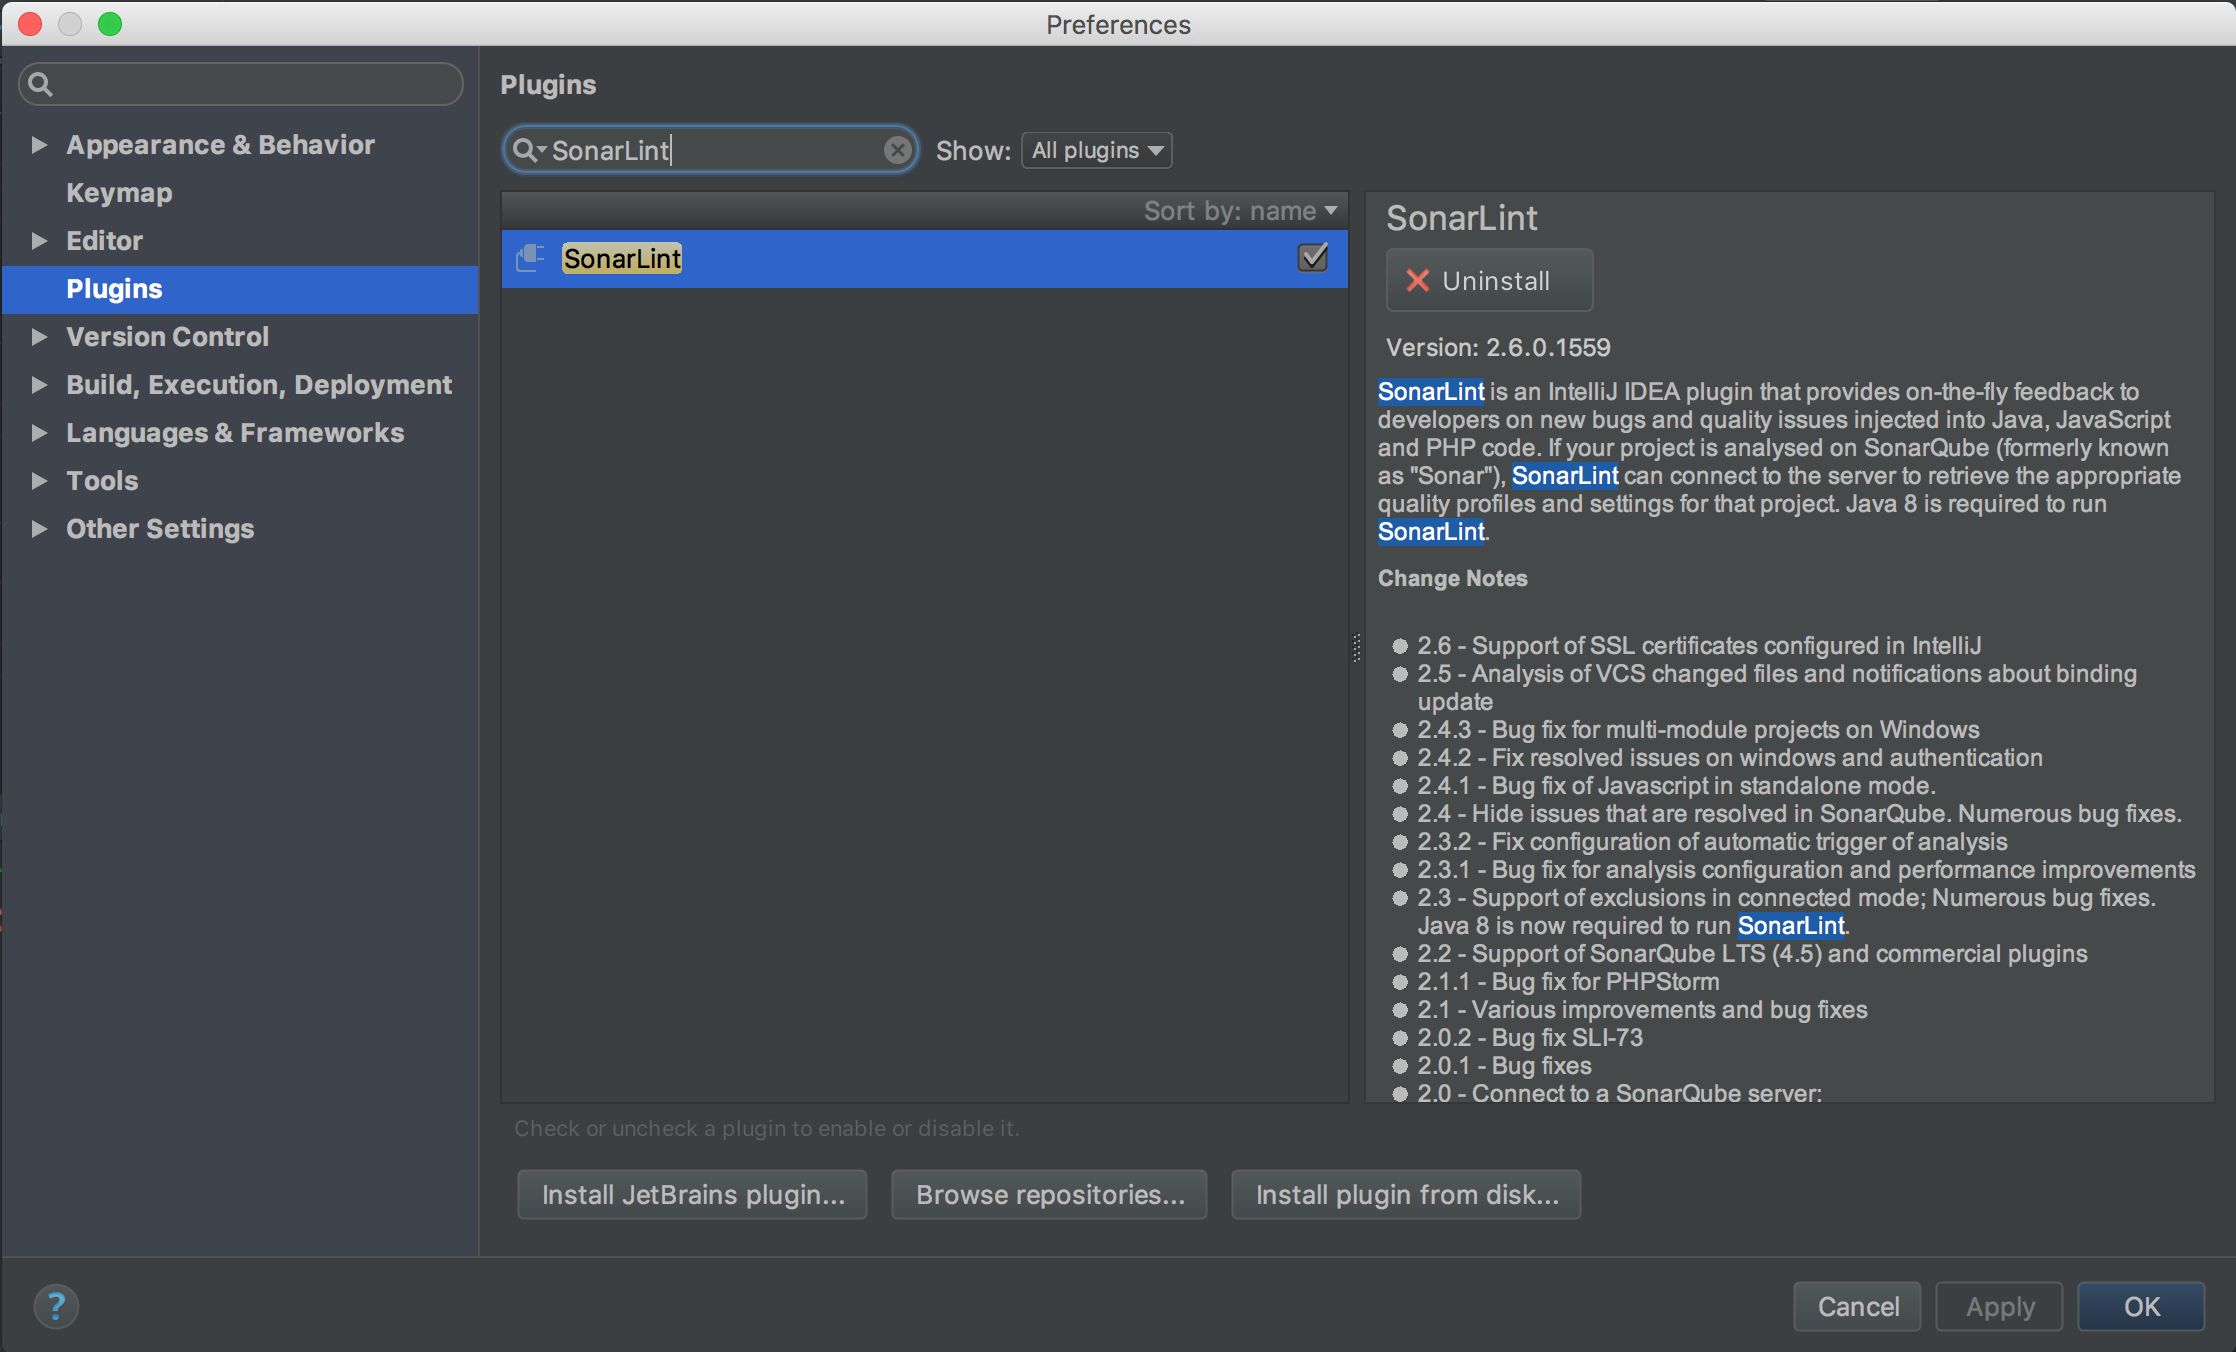
- 打开 IDEA,在 preferences 中 打开plugins 并点击 Browse repositories,搜索 SonarLint ,点击 install ,并重启IDEA。
- 在 preferences 中打开 other settings 中的SonarLint General setting,点击加号,进行配置

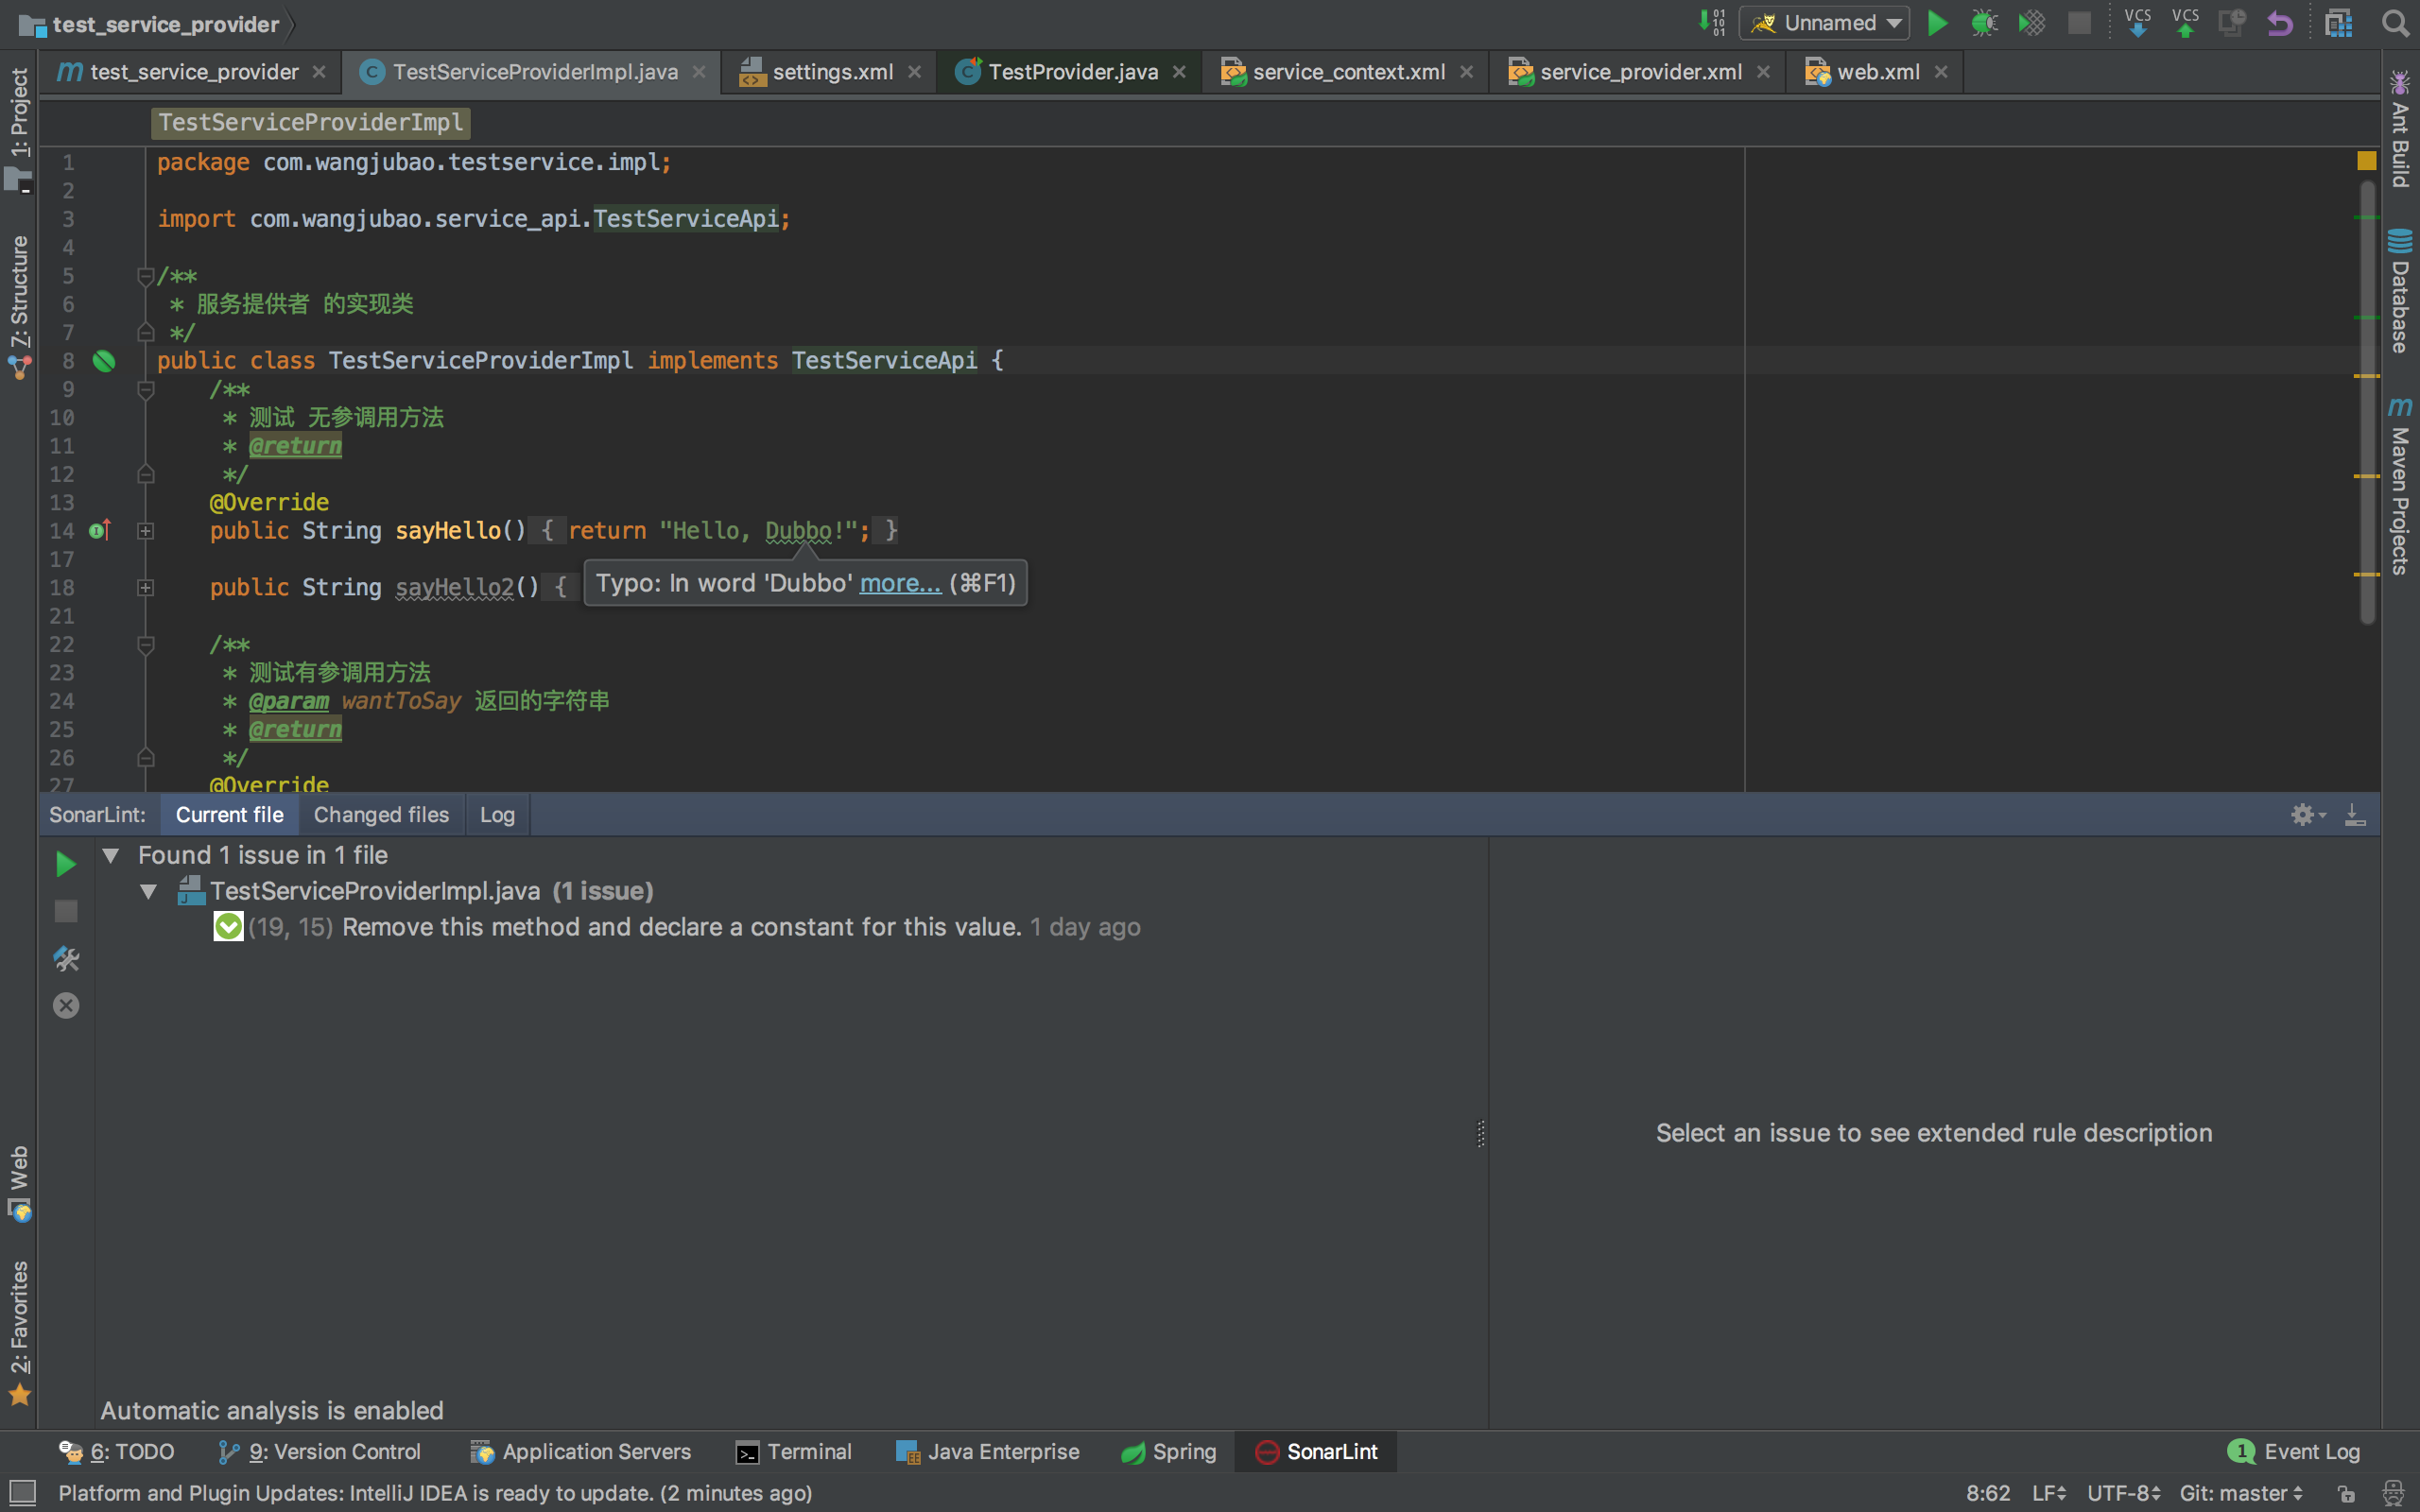
- 这样在 我们将代码保存的时候,就会对代码自动进行扫描,并将结果显示在 IDEA 中(注:扫描结果并不注入本地服务器)。
结合Maven 使用Sonar 进行项目扫描
- 在
%maven_home%/conf/setting.xml的 \<profile> <id>sonar</id> <activation> <activeByDefault>true</activeByDefault> </activation> <properties> <sonar.login>Kevin</sonar.login> <sonar.password>admin</sonar.password> <sonar.host.url>http://localhost:9000/</sonar.host.url> </properties> </profile> - 在 IDEA 终端中 项目根目录下 使用以下命令 进行Sonarqube 的扫描,并自动将结果写入sonar本地服务器。
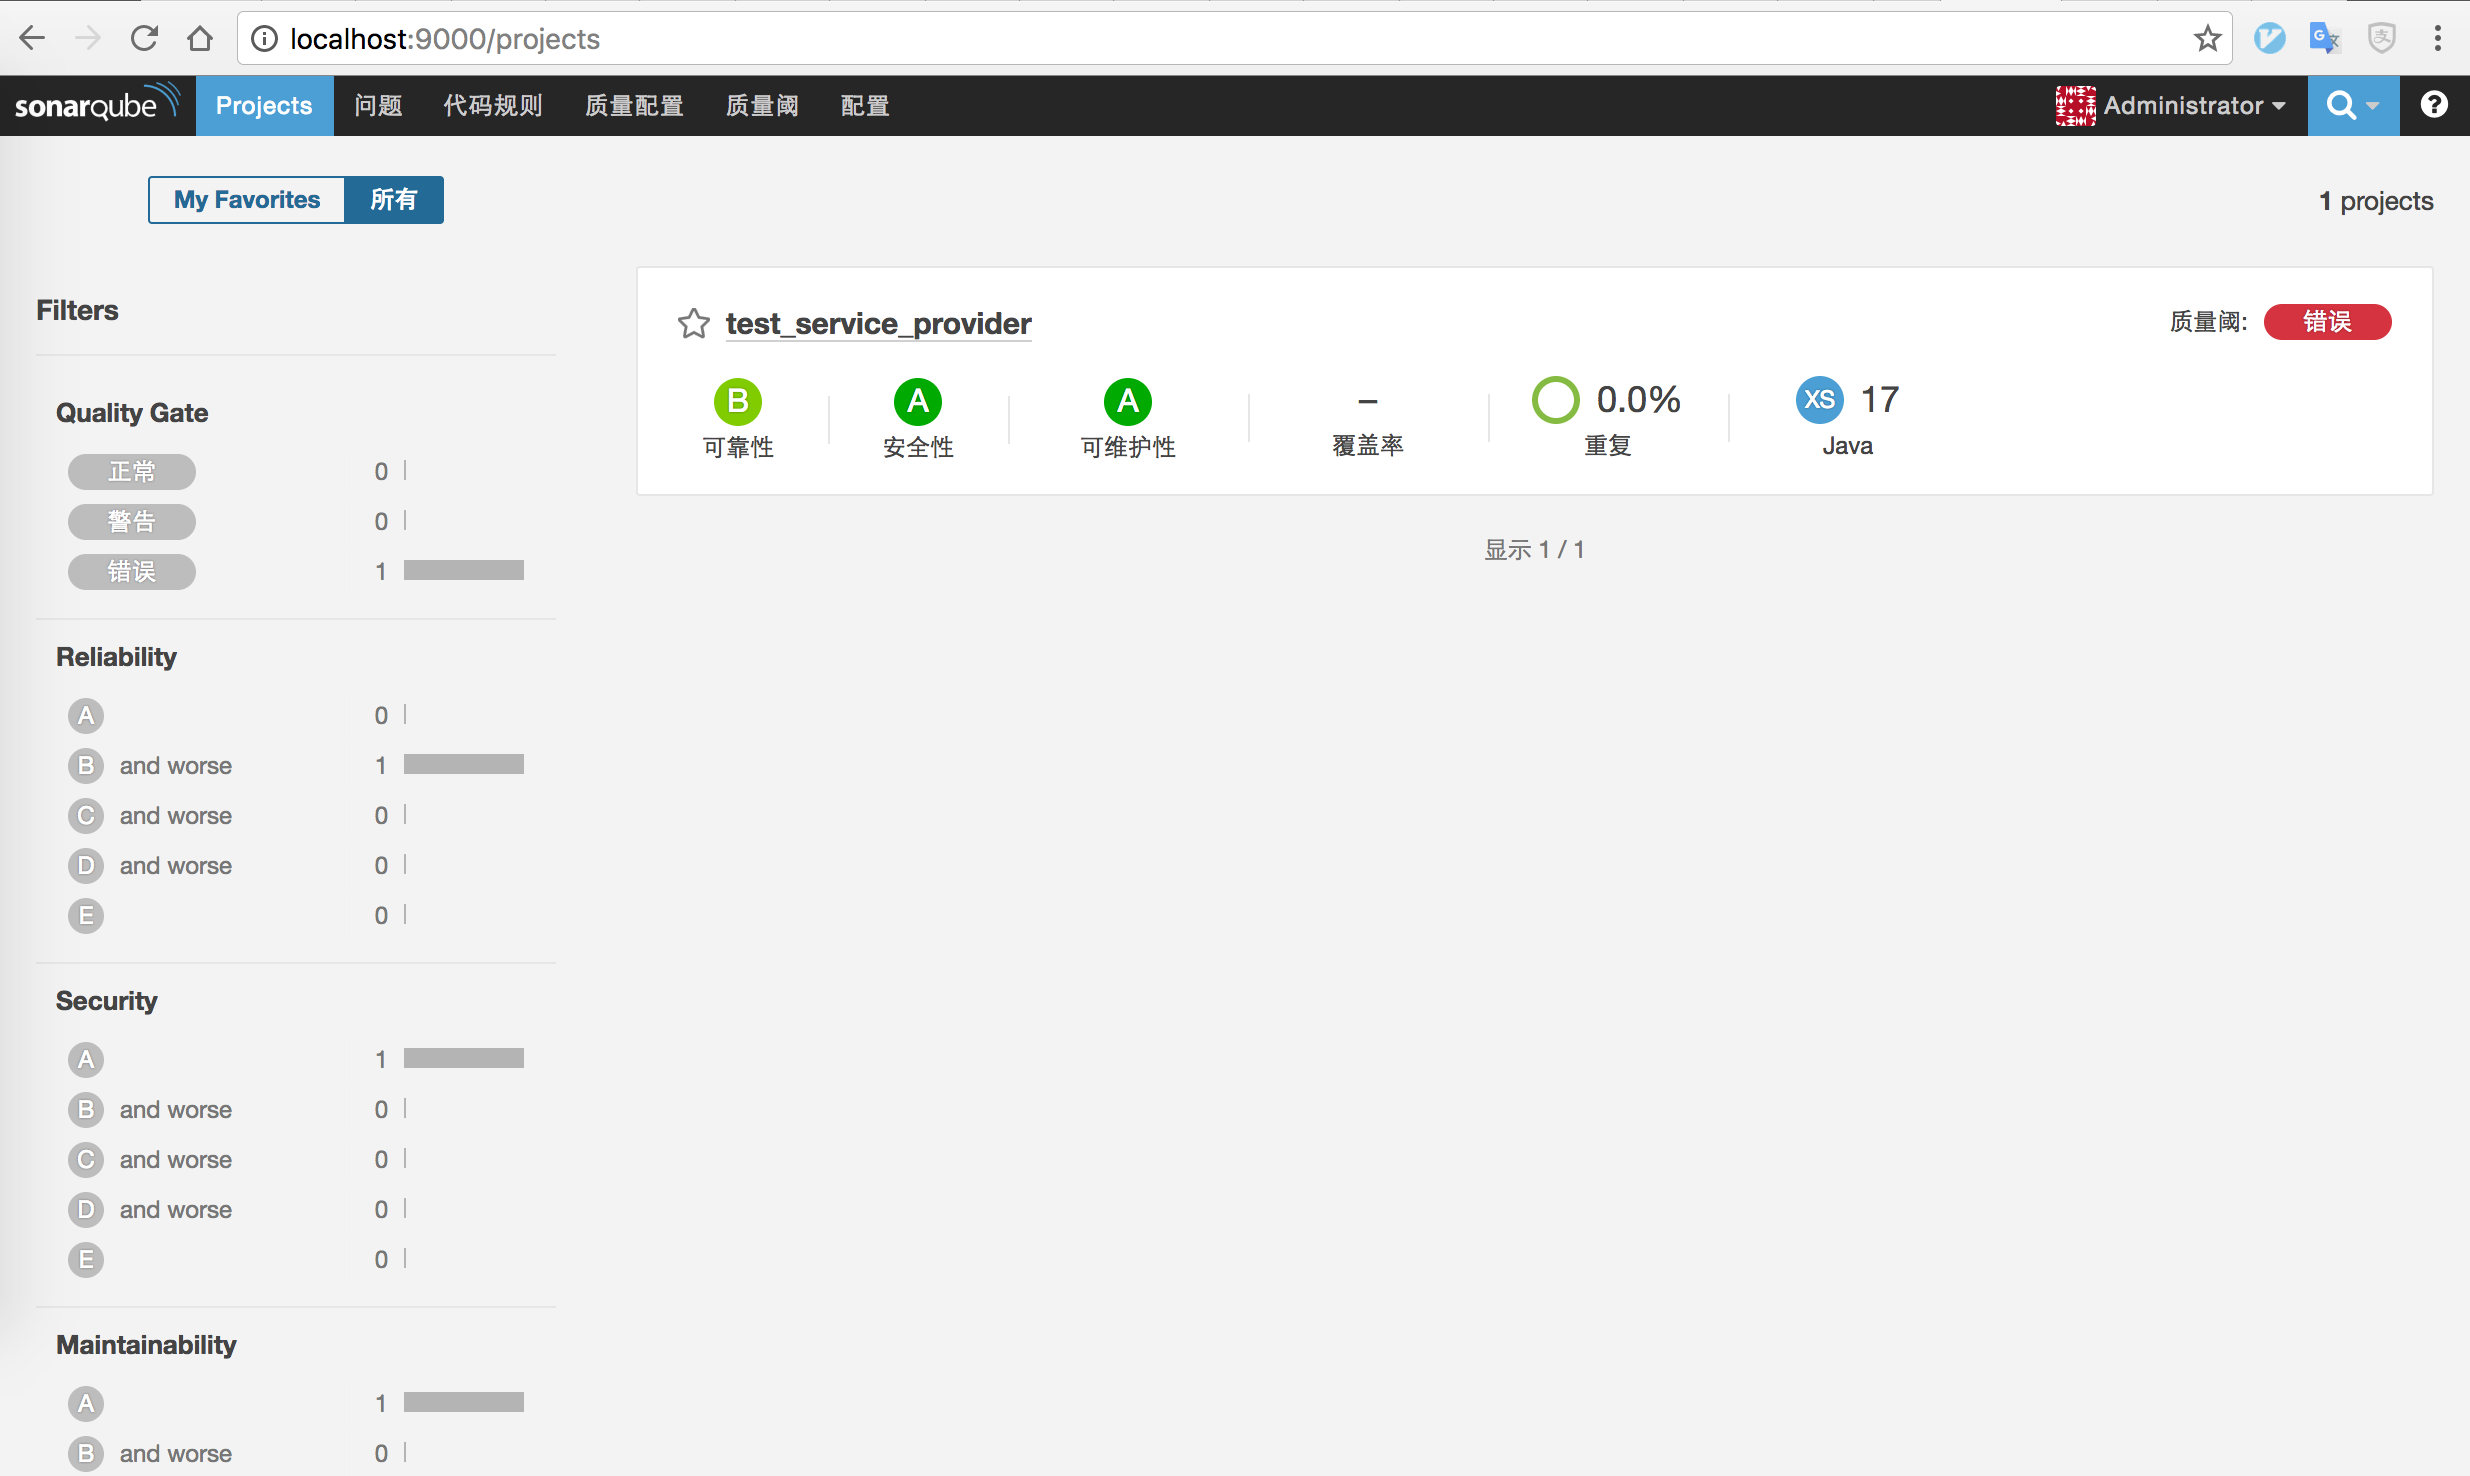
mvn sonar:sonar - 成功后,到浏览器 输入 http://localhost:9000 并使用admin 账户登录,点击 project - 左边栏 all ,即可看到刚刚扫描结果。
配置CRP 使在提交代码时进行自动Sonar 扫描
- 在项目根目录的 setting.xml 中 的 \
<profile> <id>sonar</id> <activation> <activeByDefault>true</activeByDefault> </activation> <properties> <sonar.login>[用户名]</sonar.login> <sonar.password>[密码]</sonar.password> <sonar.host.url>http://[服务器地址]:9000/</sonar.host.url> </properties> </profile> - 在项目根目录的 pom.xml 文件中加入以下配置,用于单元测试覆盖率的扫描:
<project>

  <!-- ··· -->

  <!-- BEGIN: Specific to mapping unit tests and covered code -->
  <profiles>
    <profile>
      <id>coverage-per-test</id>
      <build>
        <plugins>
          <plugin>
            <groupId>org.apache.maven.plugins</groupId>
            <artifactId>maven-surefire-plugin</artifactId>
            <!-- Minimal supported version is 2.4 -->
            <version>2.13</version>
            <configuration>
              <properties>
                <property>
                  <name>listener</name>
                  <value>org.sonar.java.jacoco.JUnitListener</value>
                </property>
              </properties>
            </configuration>
          </plugin>
        </plugins>
      </build>

      <dependencies>
        <dependency>
          <groupId>org.sonarsource.java</groupId>
          <artifactId>sonar-jacoco-listeners</artifactId>
          <version>3.8</version>
          <scope>test</scope>
        </dependency>
      </dependencies>
    </profile>
  </profiles>
  <!-- END: Specific to mapping unit tests and covered code -->

  <!-- ··· -->
</project>
在 crp 工作流的 编译/测试 环节添加以下 命令,并保存。
  mvn clean org.jacoco:jacoco-maven-plugin:prepare-agent install
  mvn clean org.jacoco:jacoco-maven-plugin:prepare-agent install -Pcoverage-per-test
  mvn sonar:sonar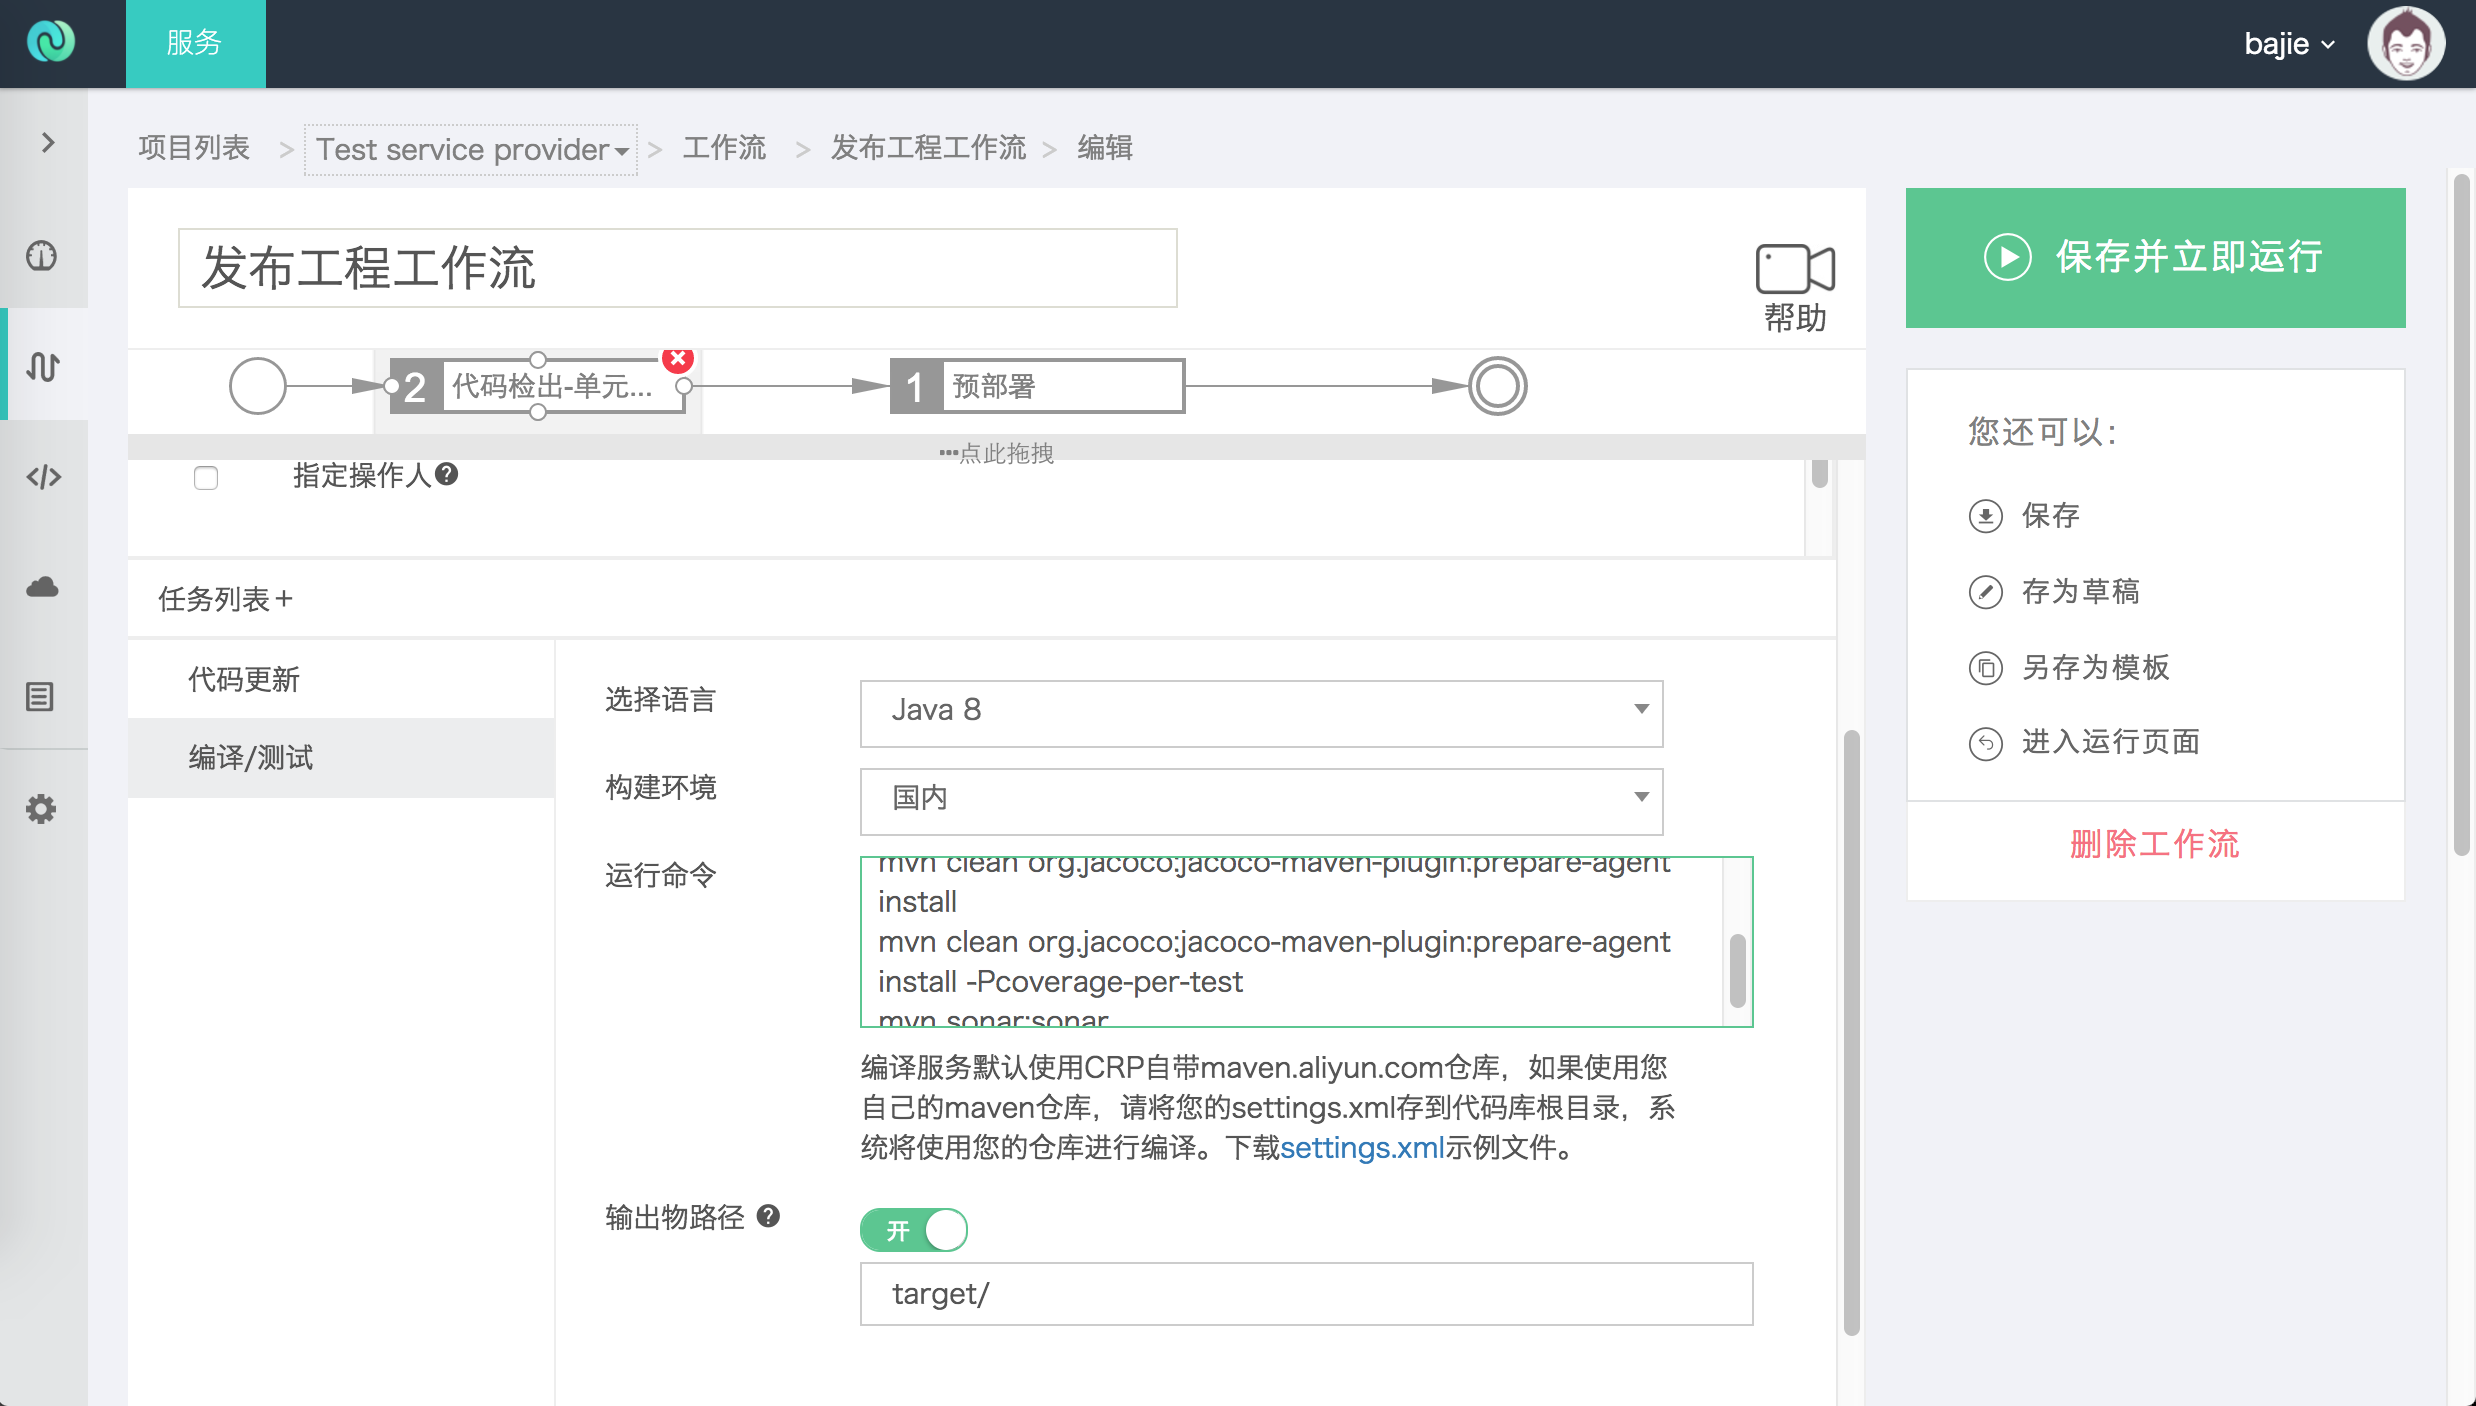
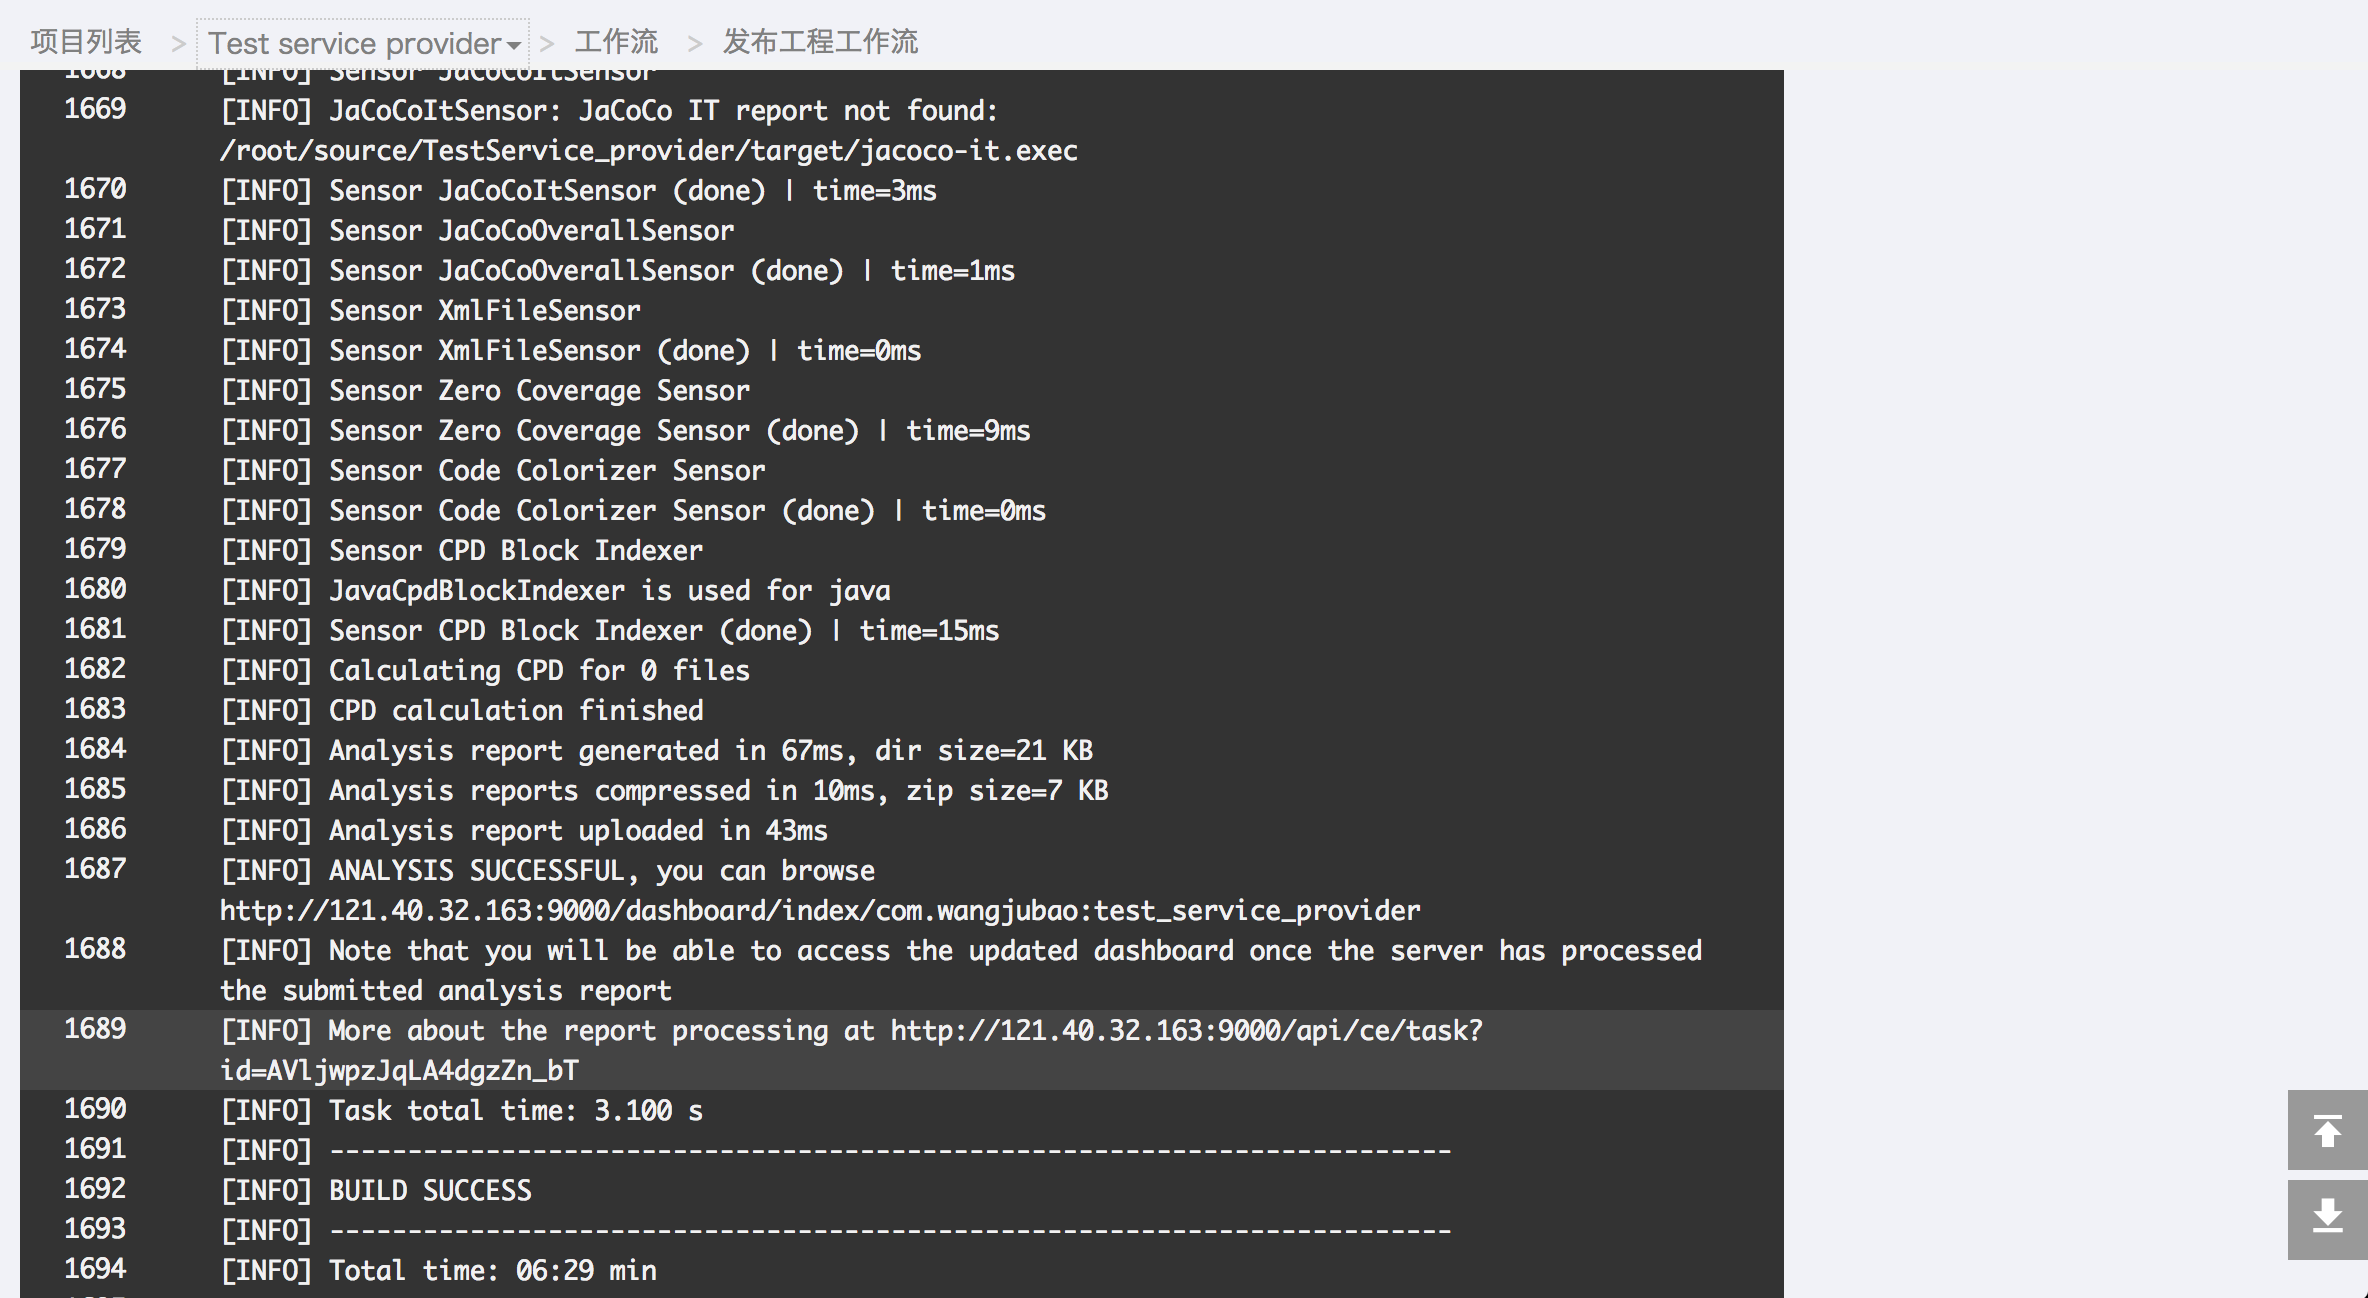
- 将代码推送 至git 服务器,即可看到 在编译环节最后开始 sonar 扫描
- 成功后 在 地址栏输入
http://[服务器地址]:9000,使用 admin 账户登录即可看到 扫描结果。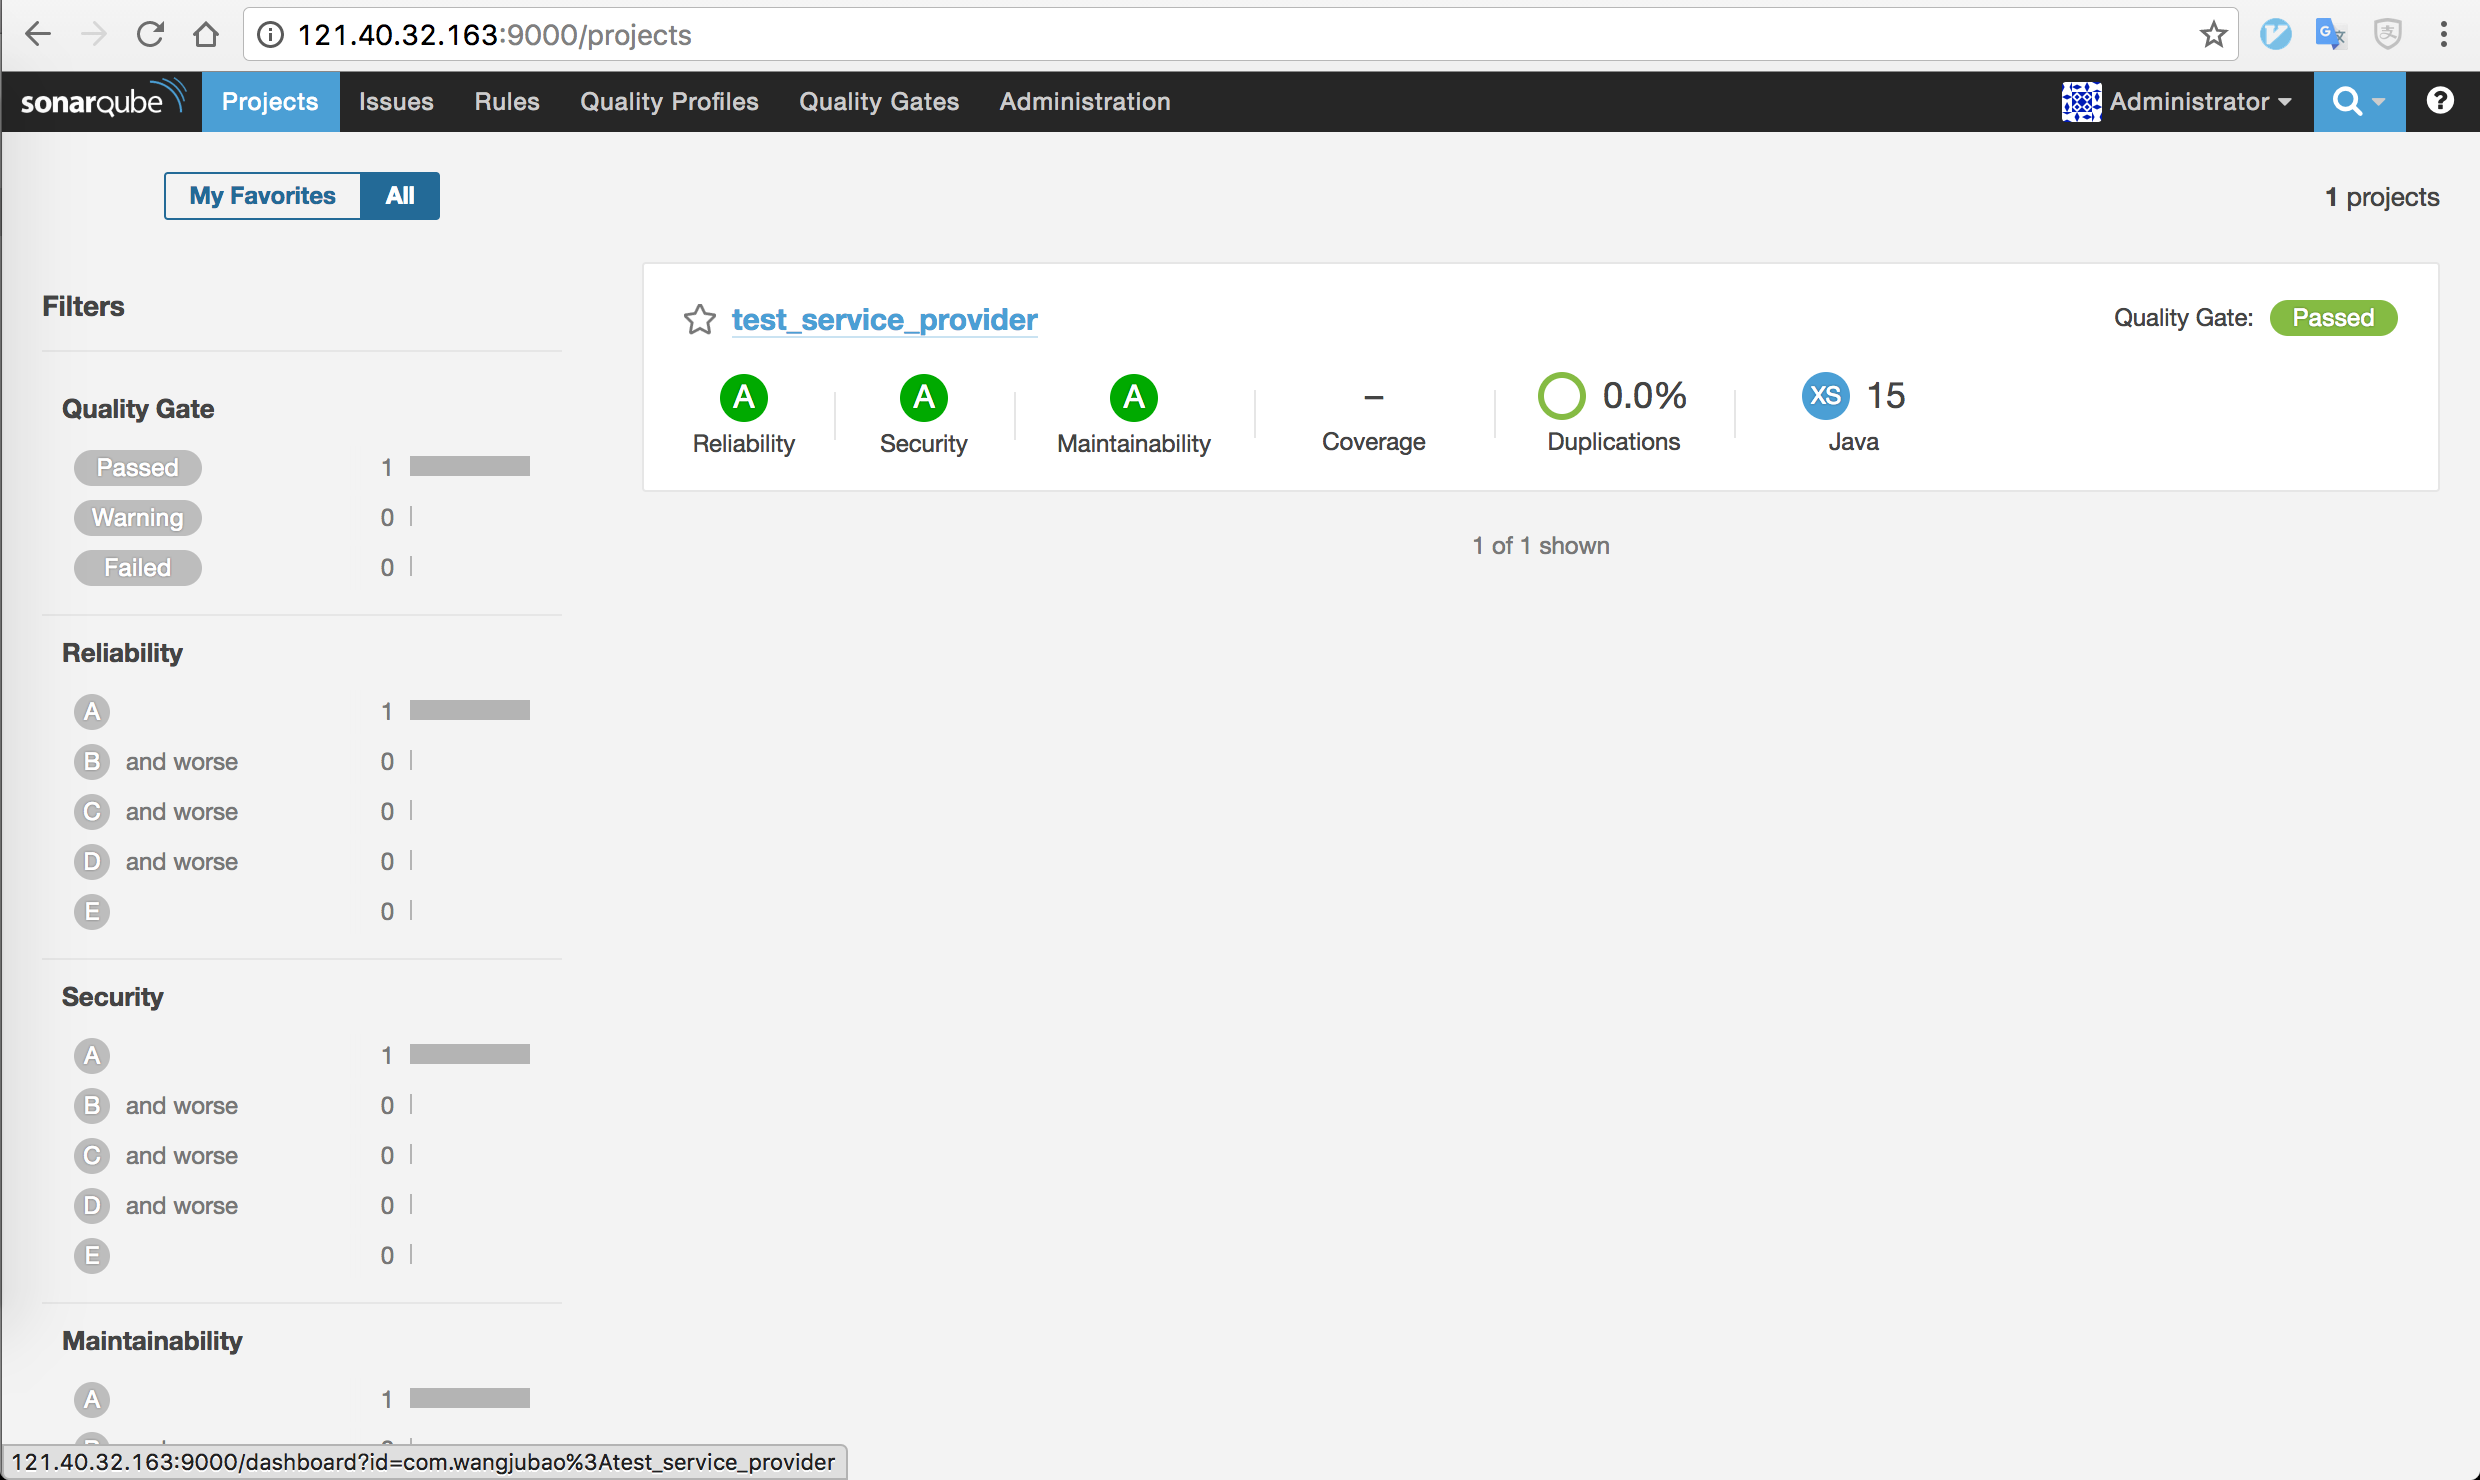
Sonar 权限配置
使用Admin 账户进行登录
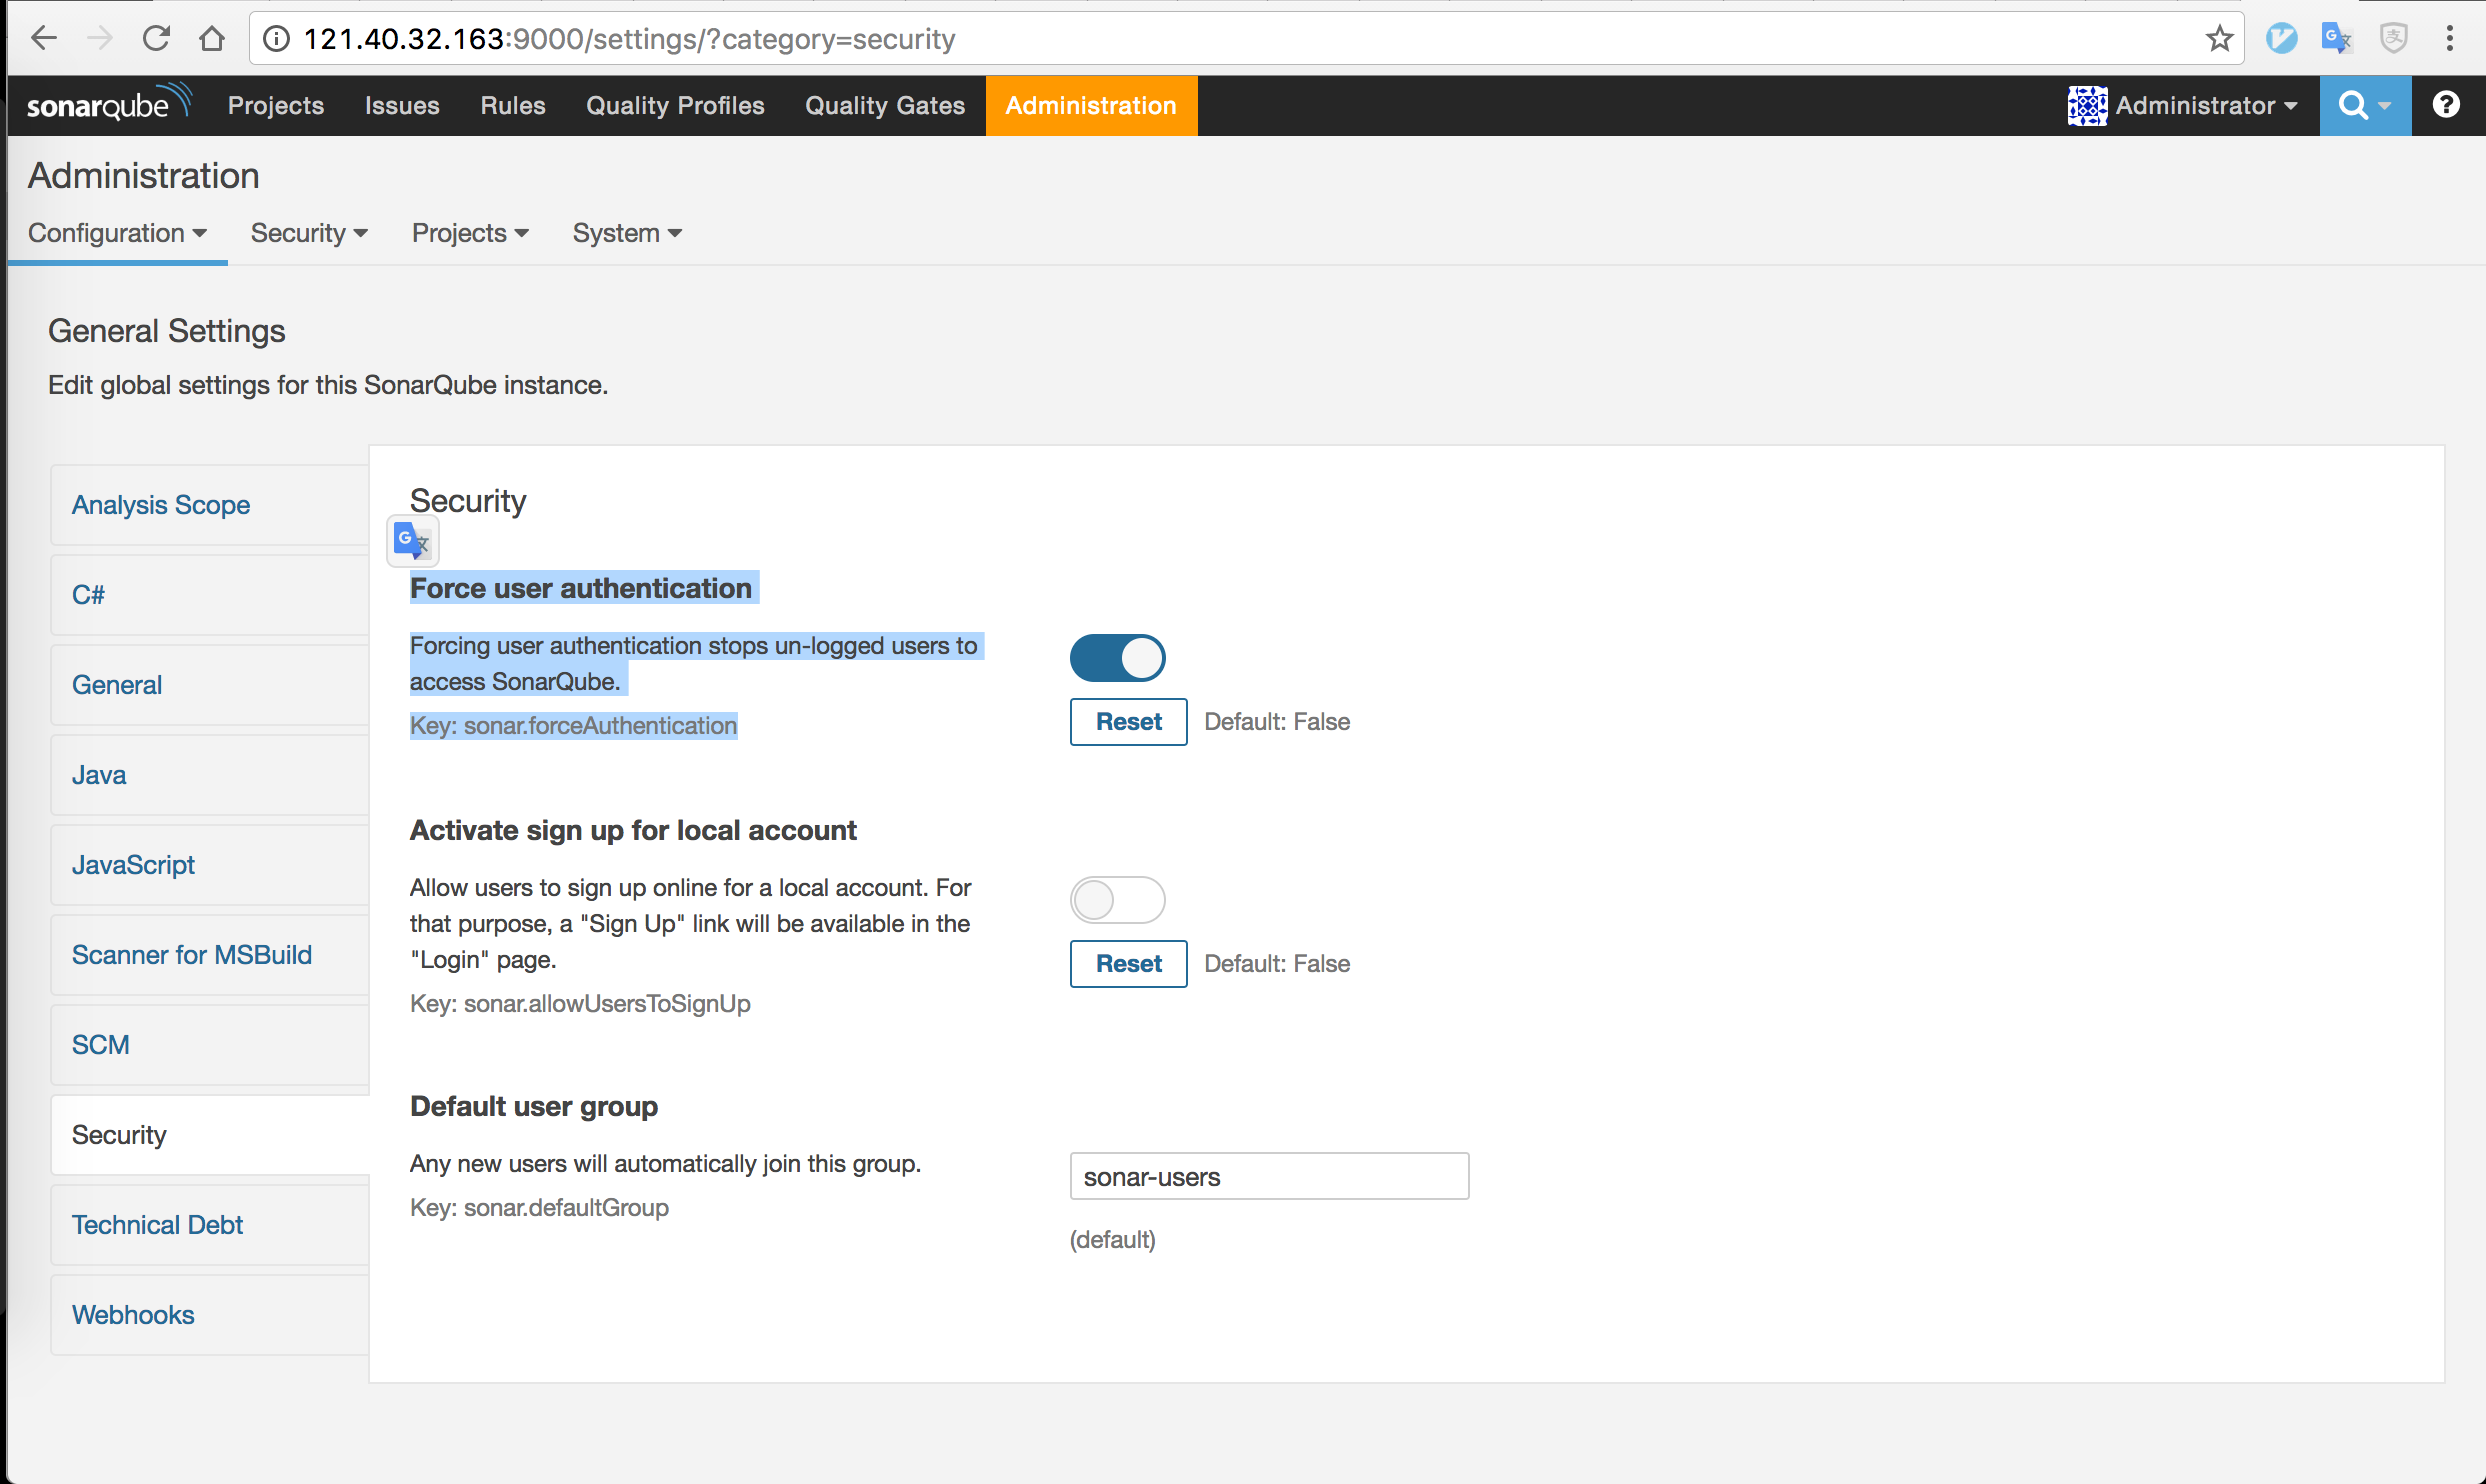
- 设置强制·登录
菜单栏中点击Administration,边栏中点击Security,将 Force user authentication 选项 打开 并保存。
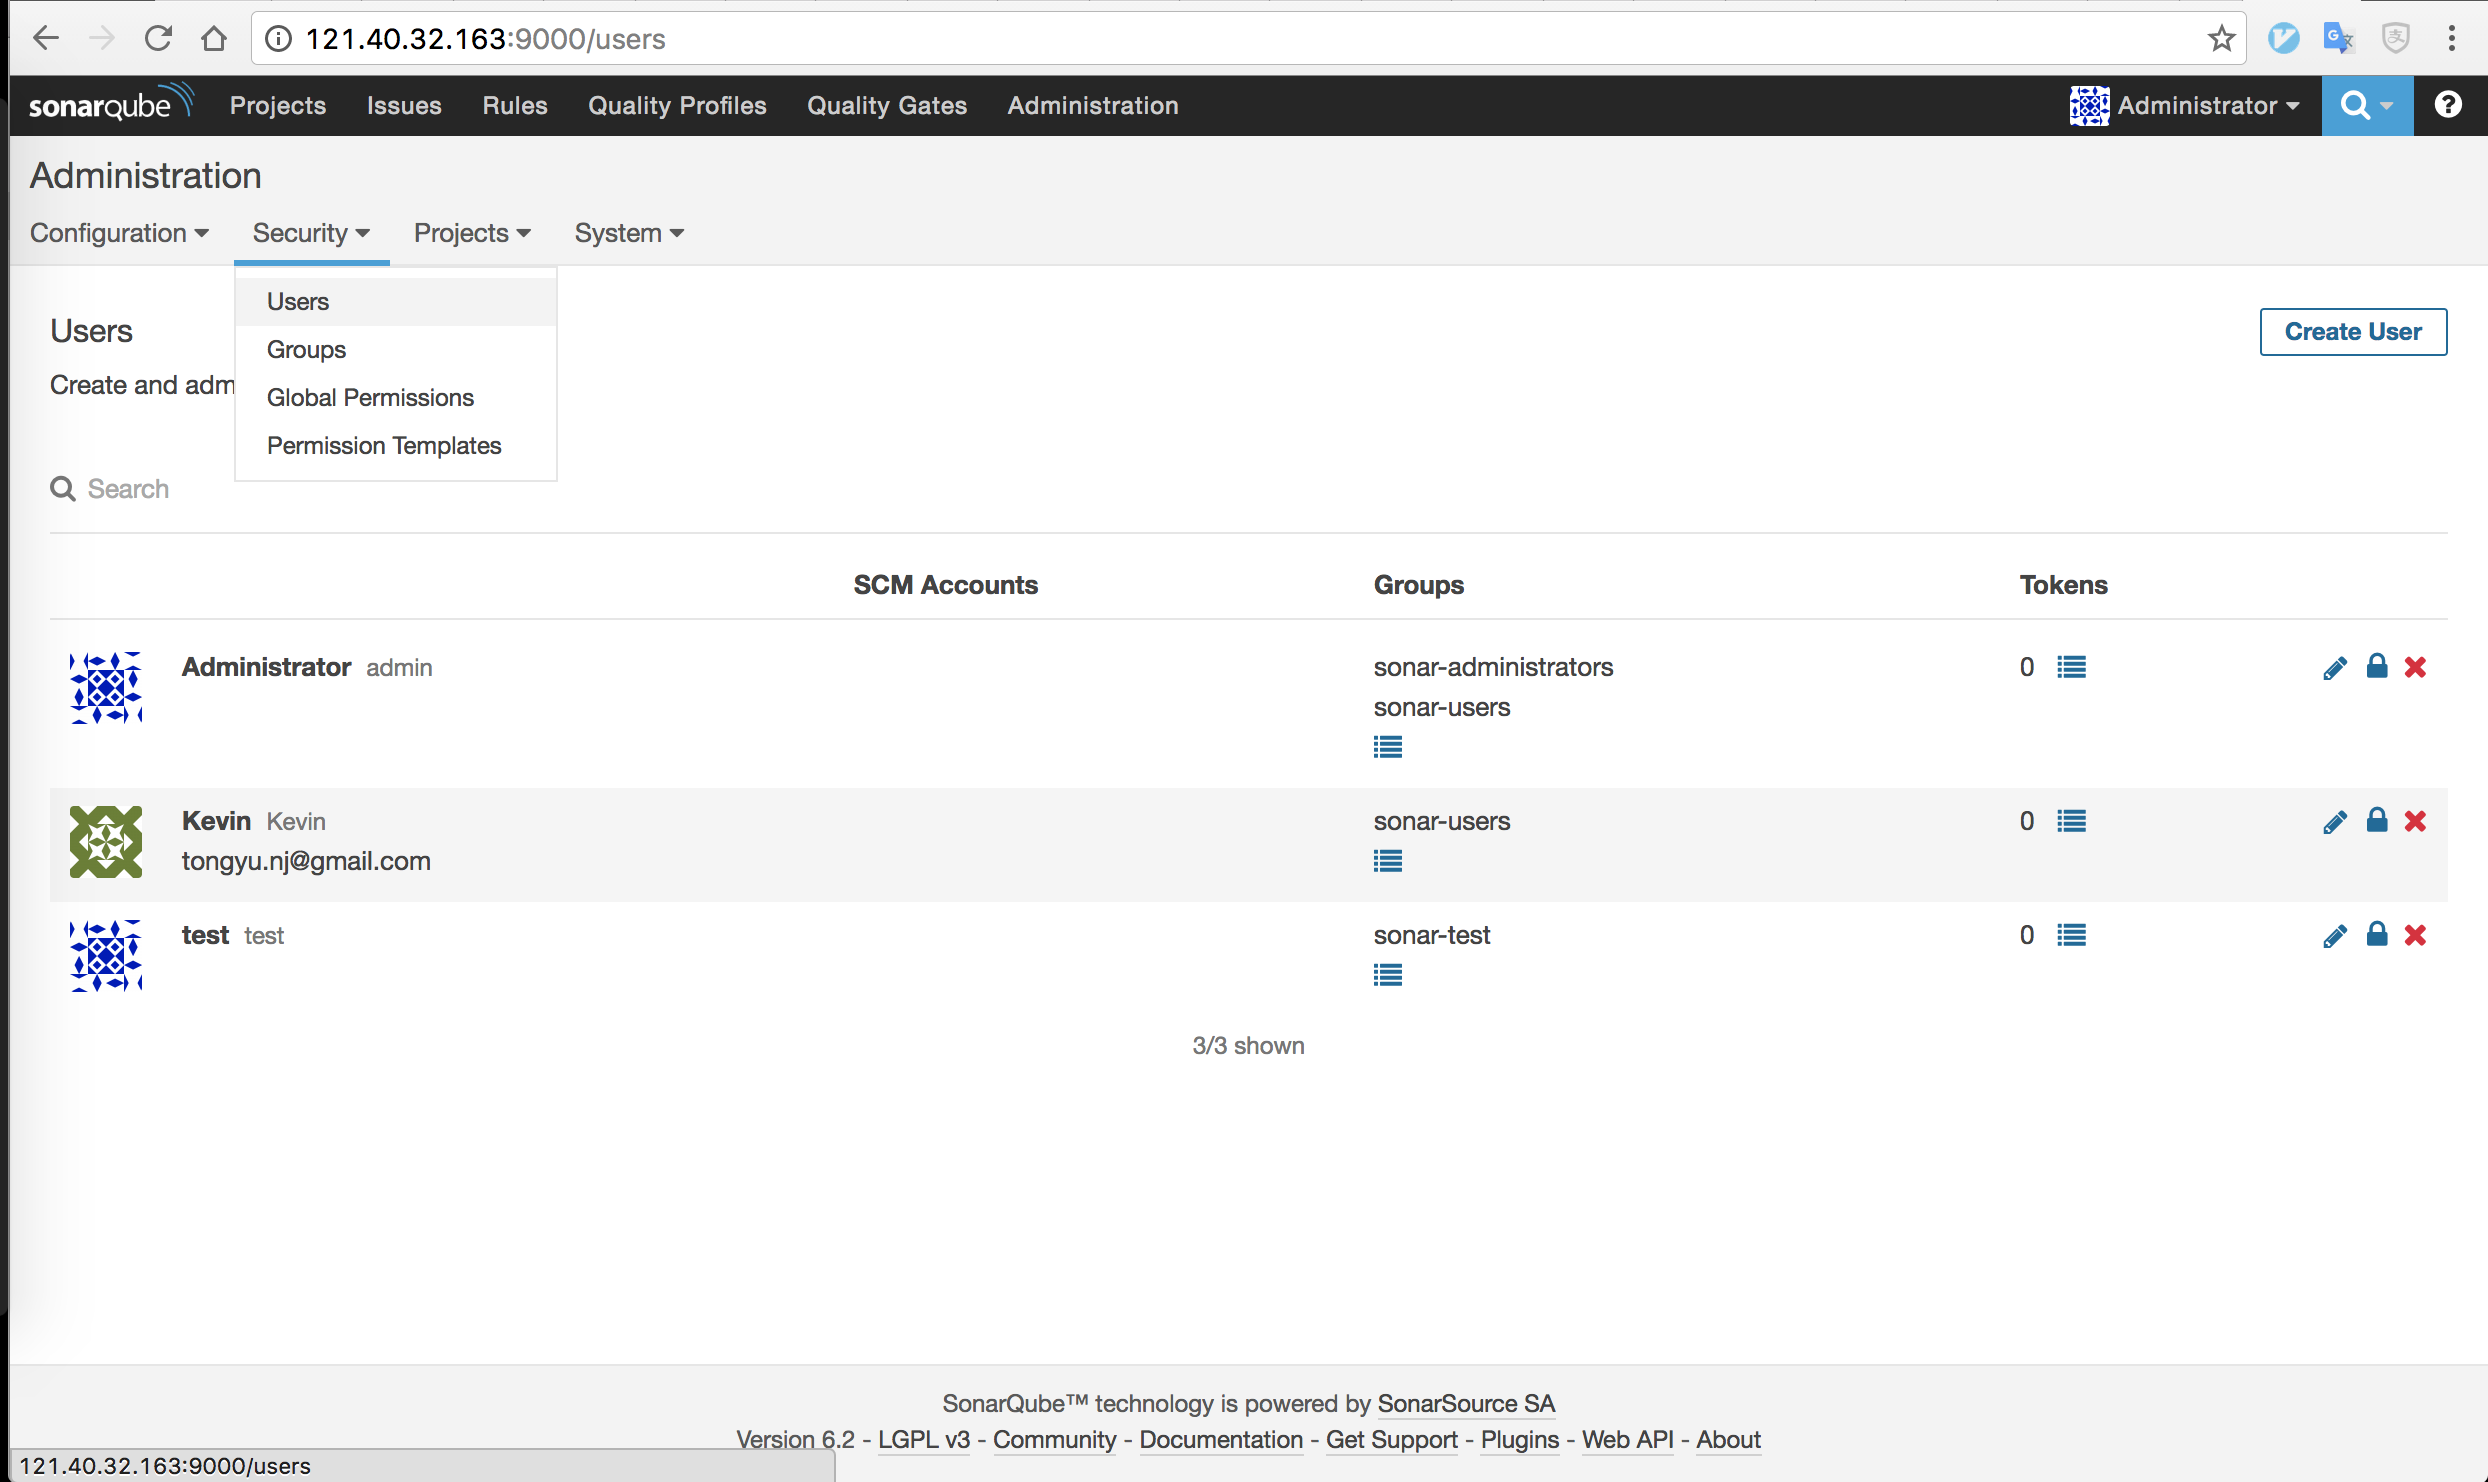
- 添加用户
在 Tab 栏中 选择 Security 中的 Users ,点击右上角Create User,创建用户。
- 为项目添加用户
- 在项目中打开仪表板,在项目的Tab 栏中选择 Administration - Permissions
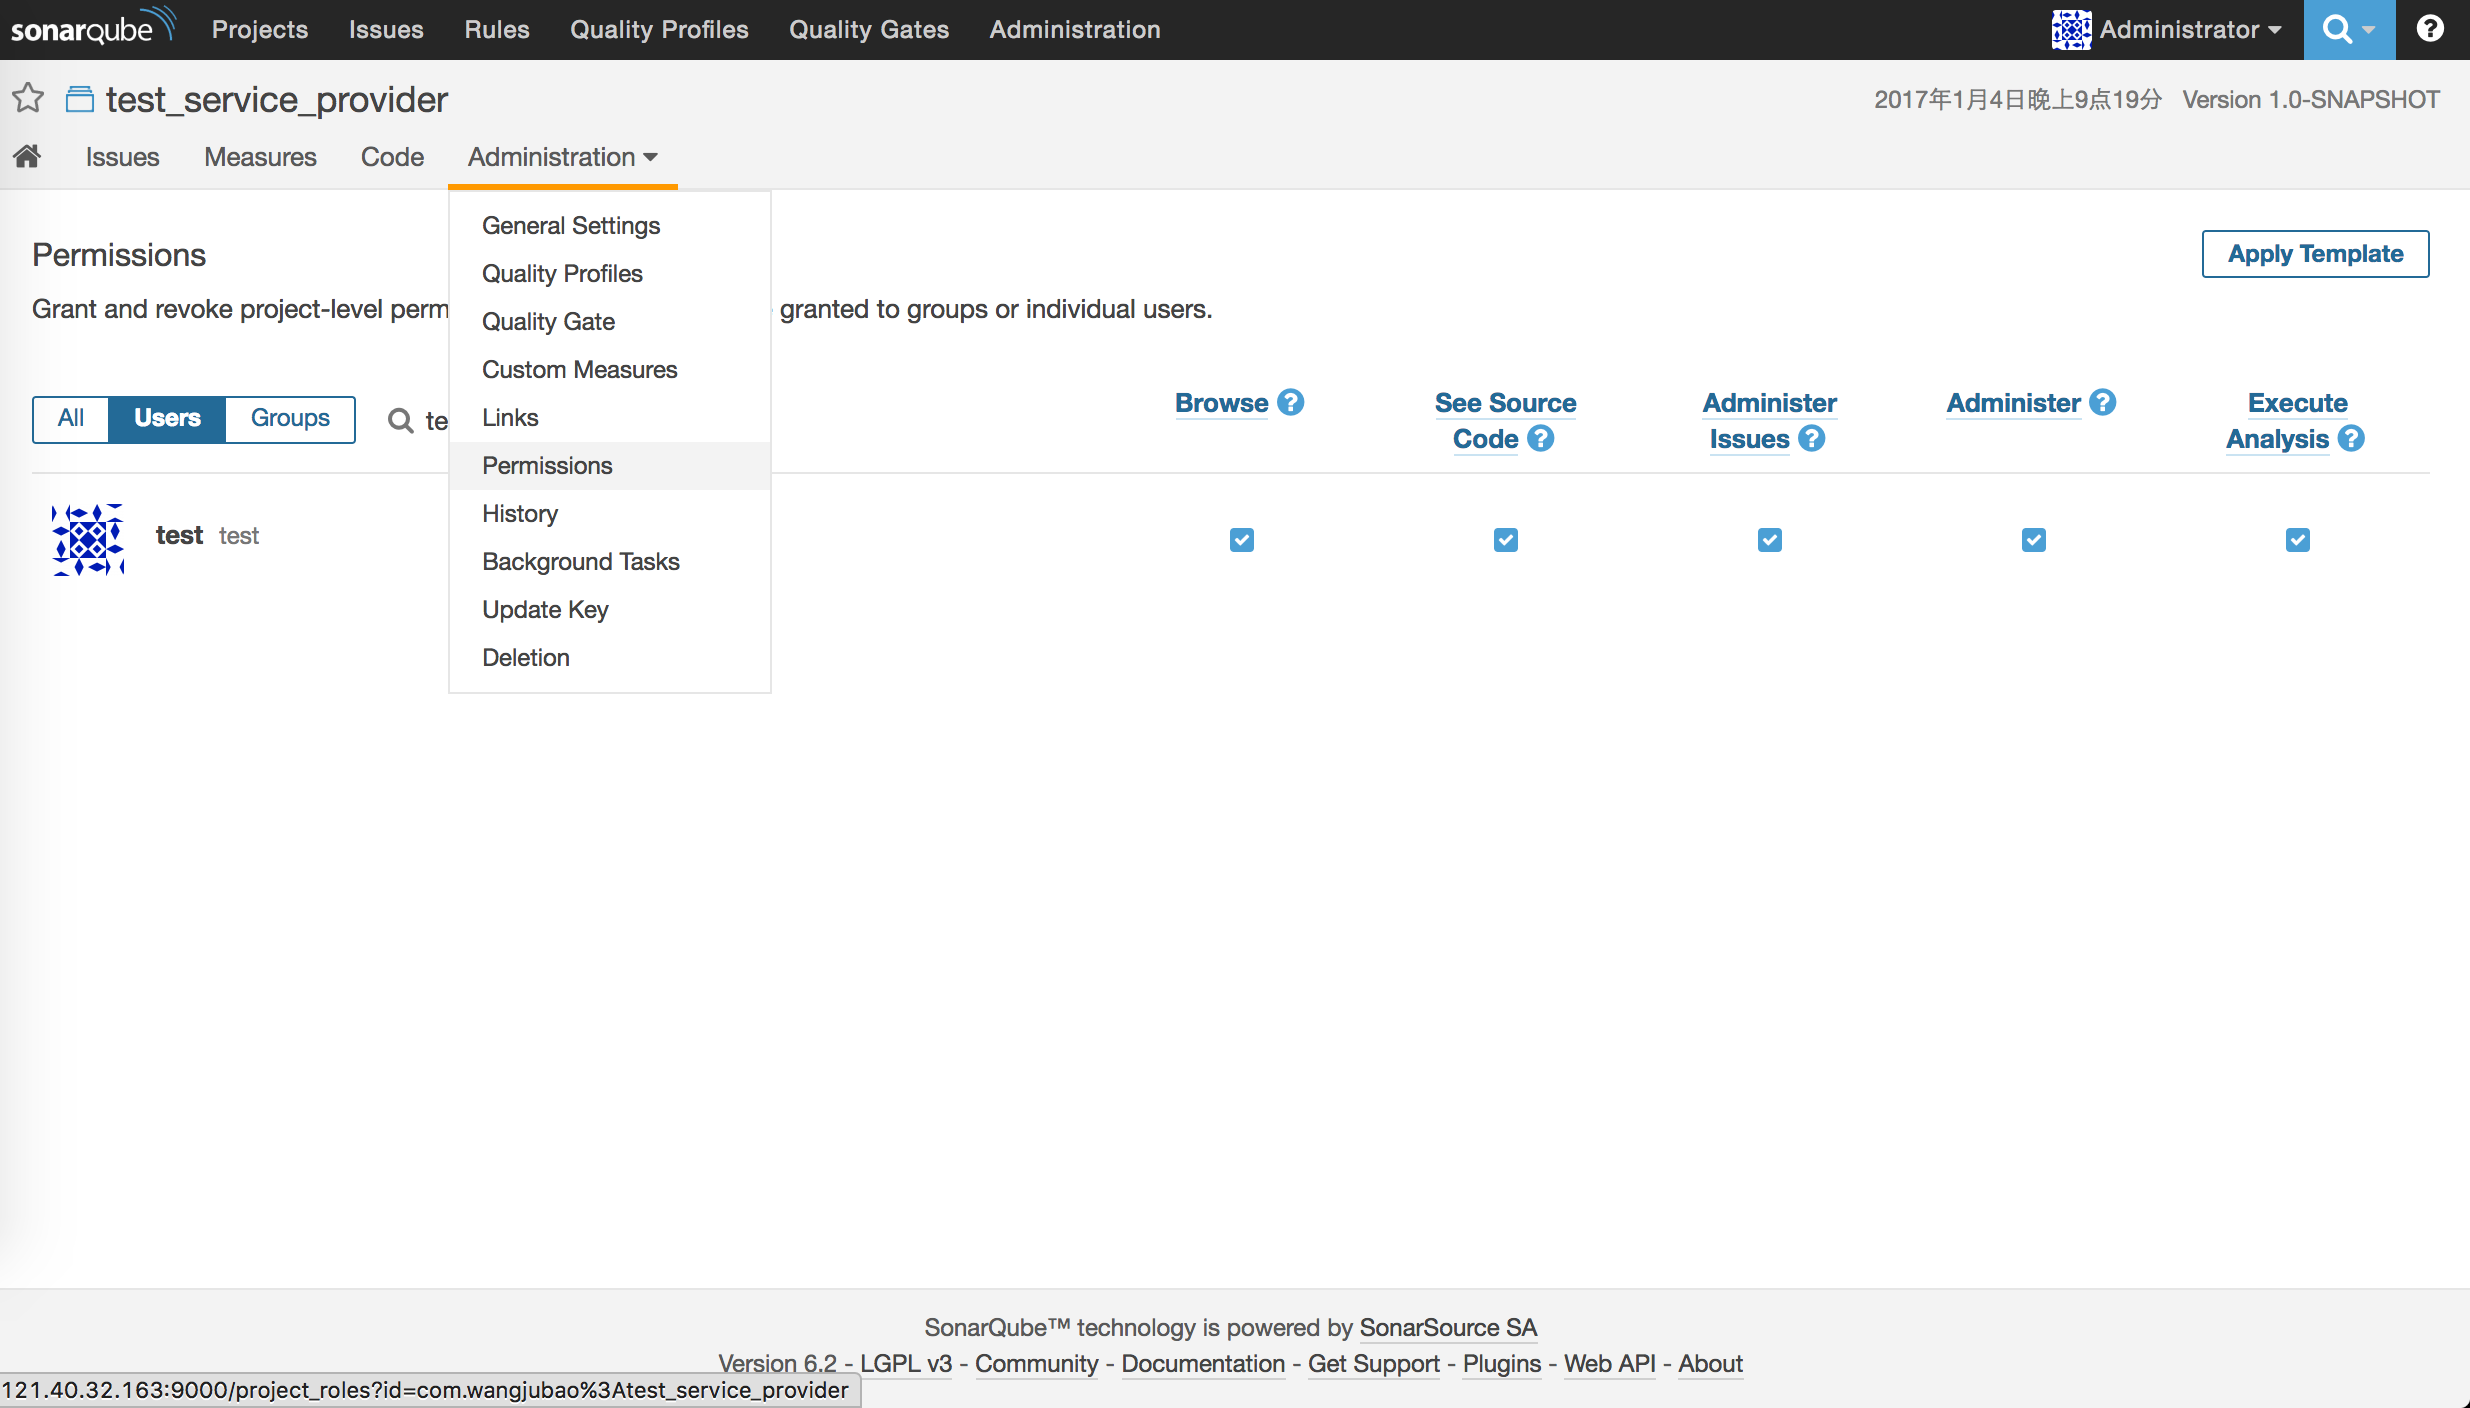
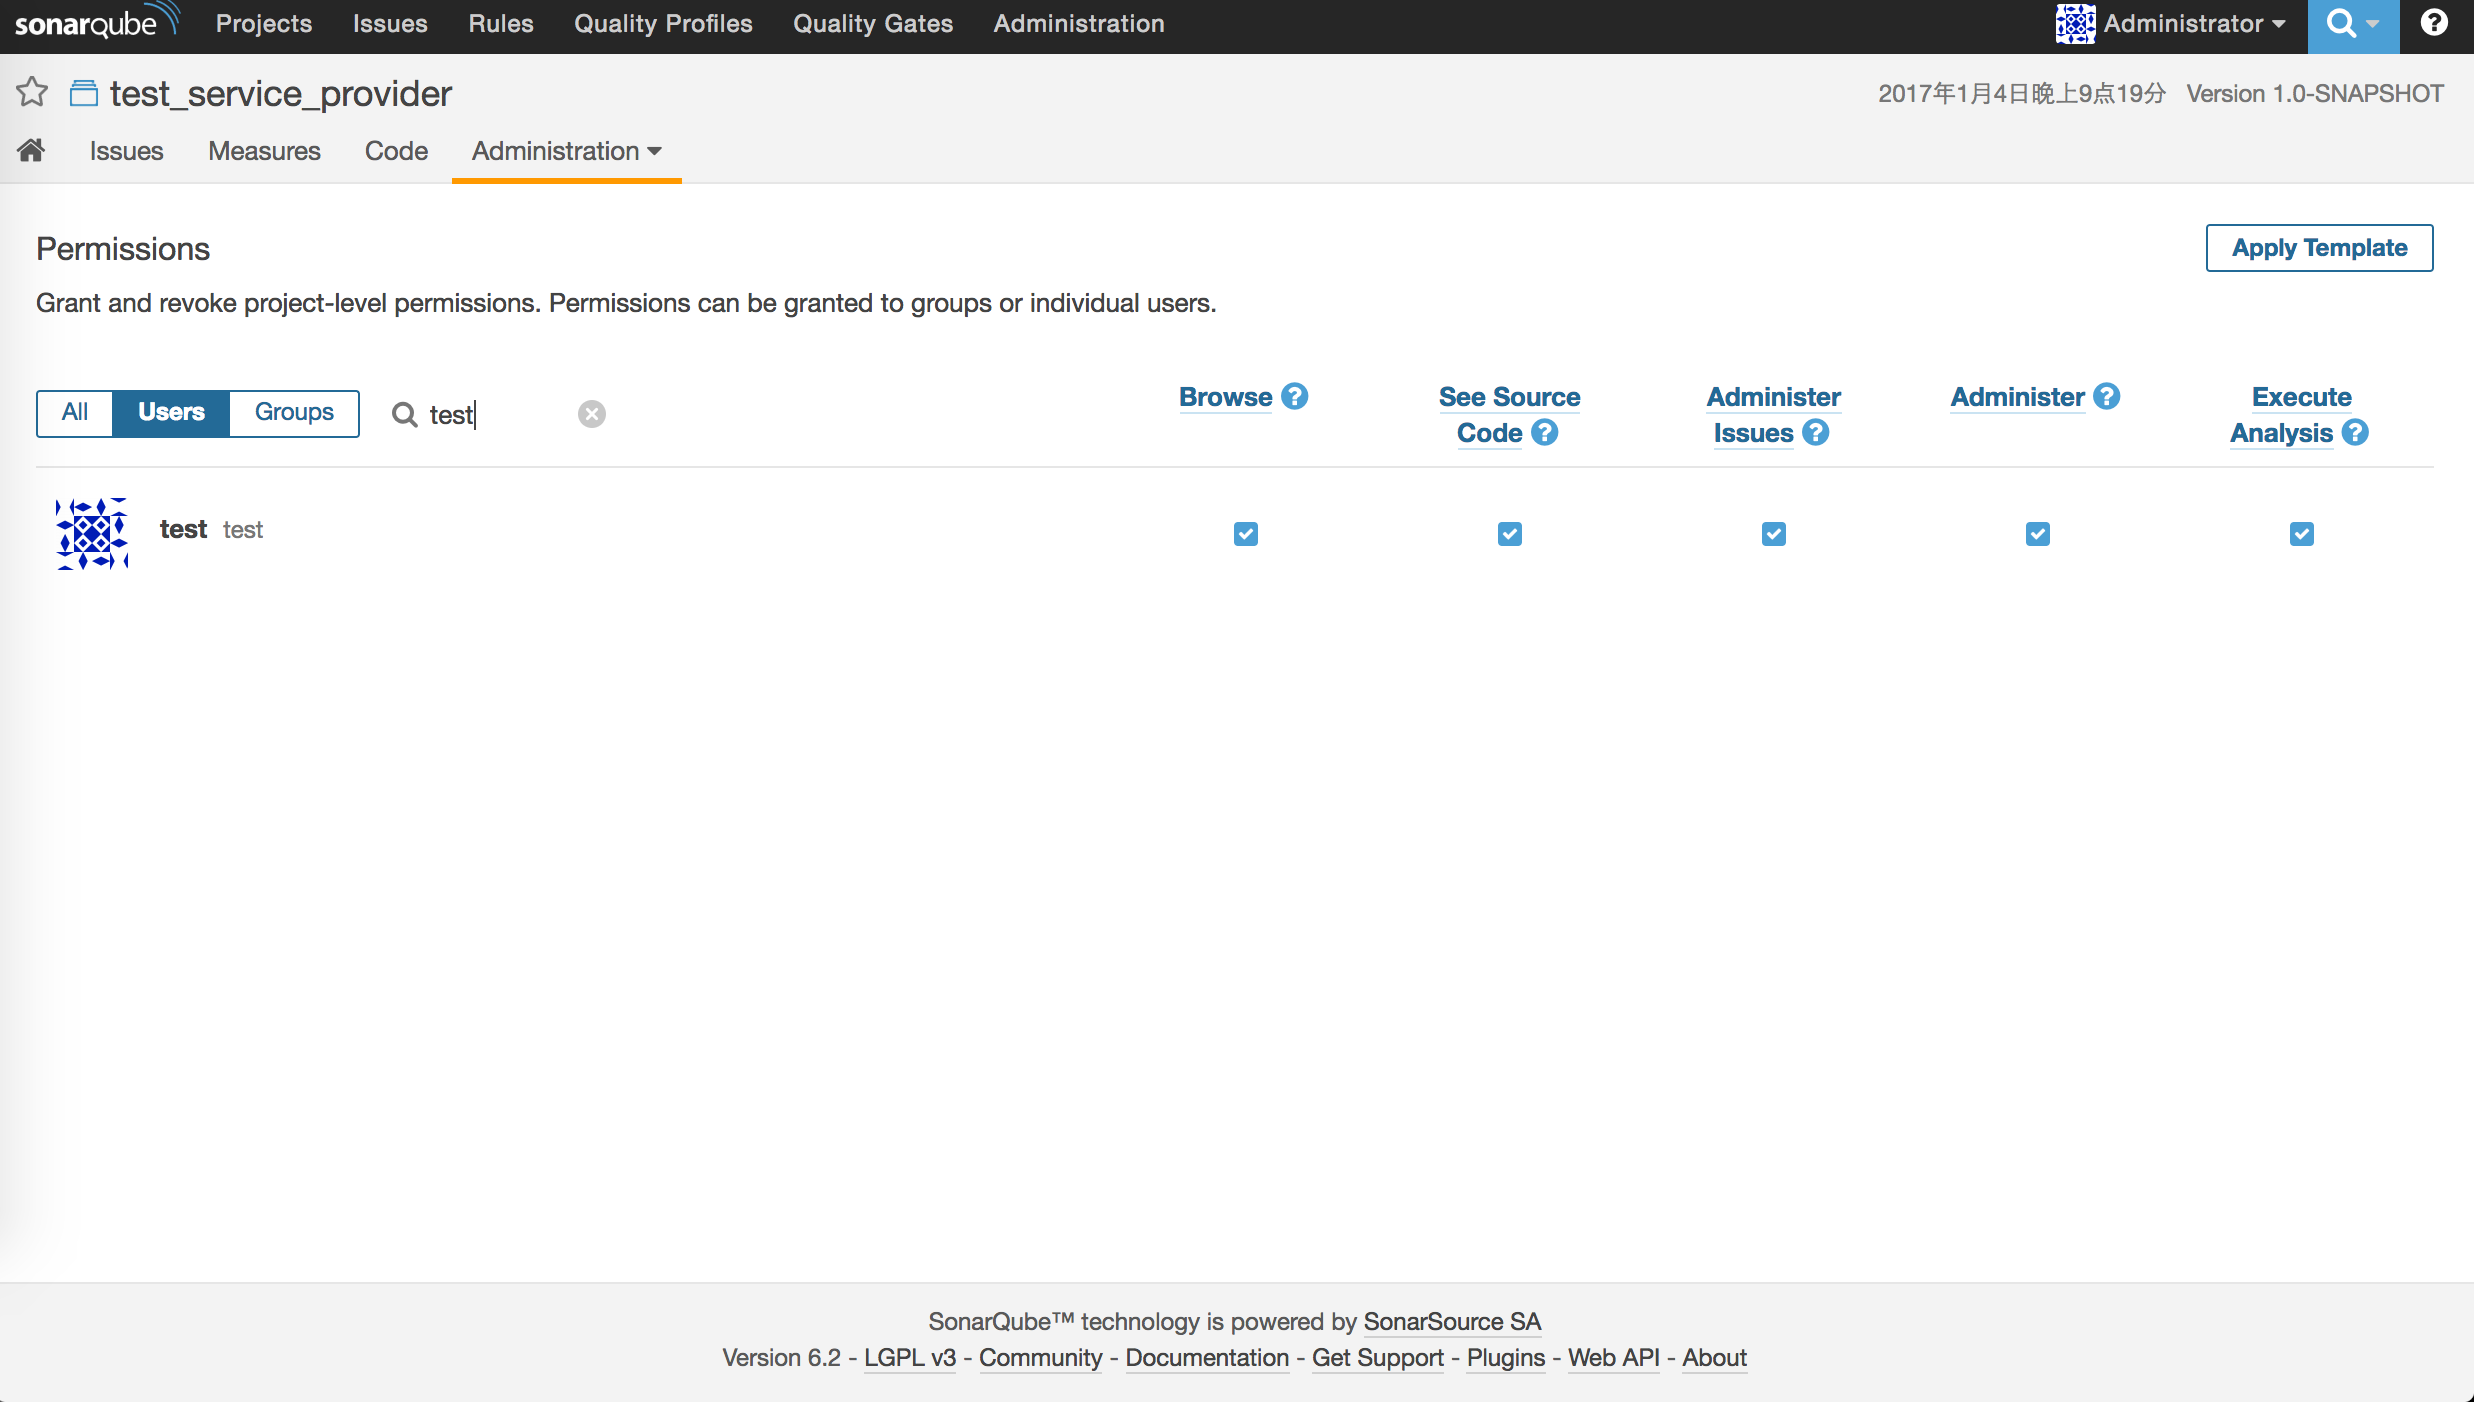
- 搜索 相对应的用户,并为其勾选上相应权限
- 在项目中打开仪表板,在项目的Tab 栏中选择 Administration - Permissions
Sonar 邮件配置
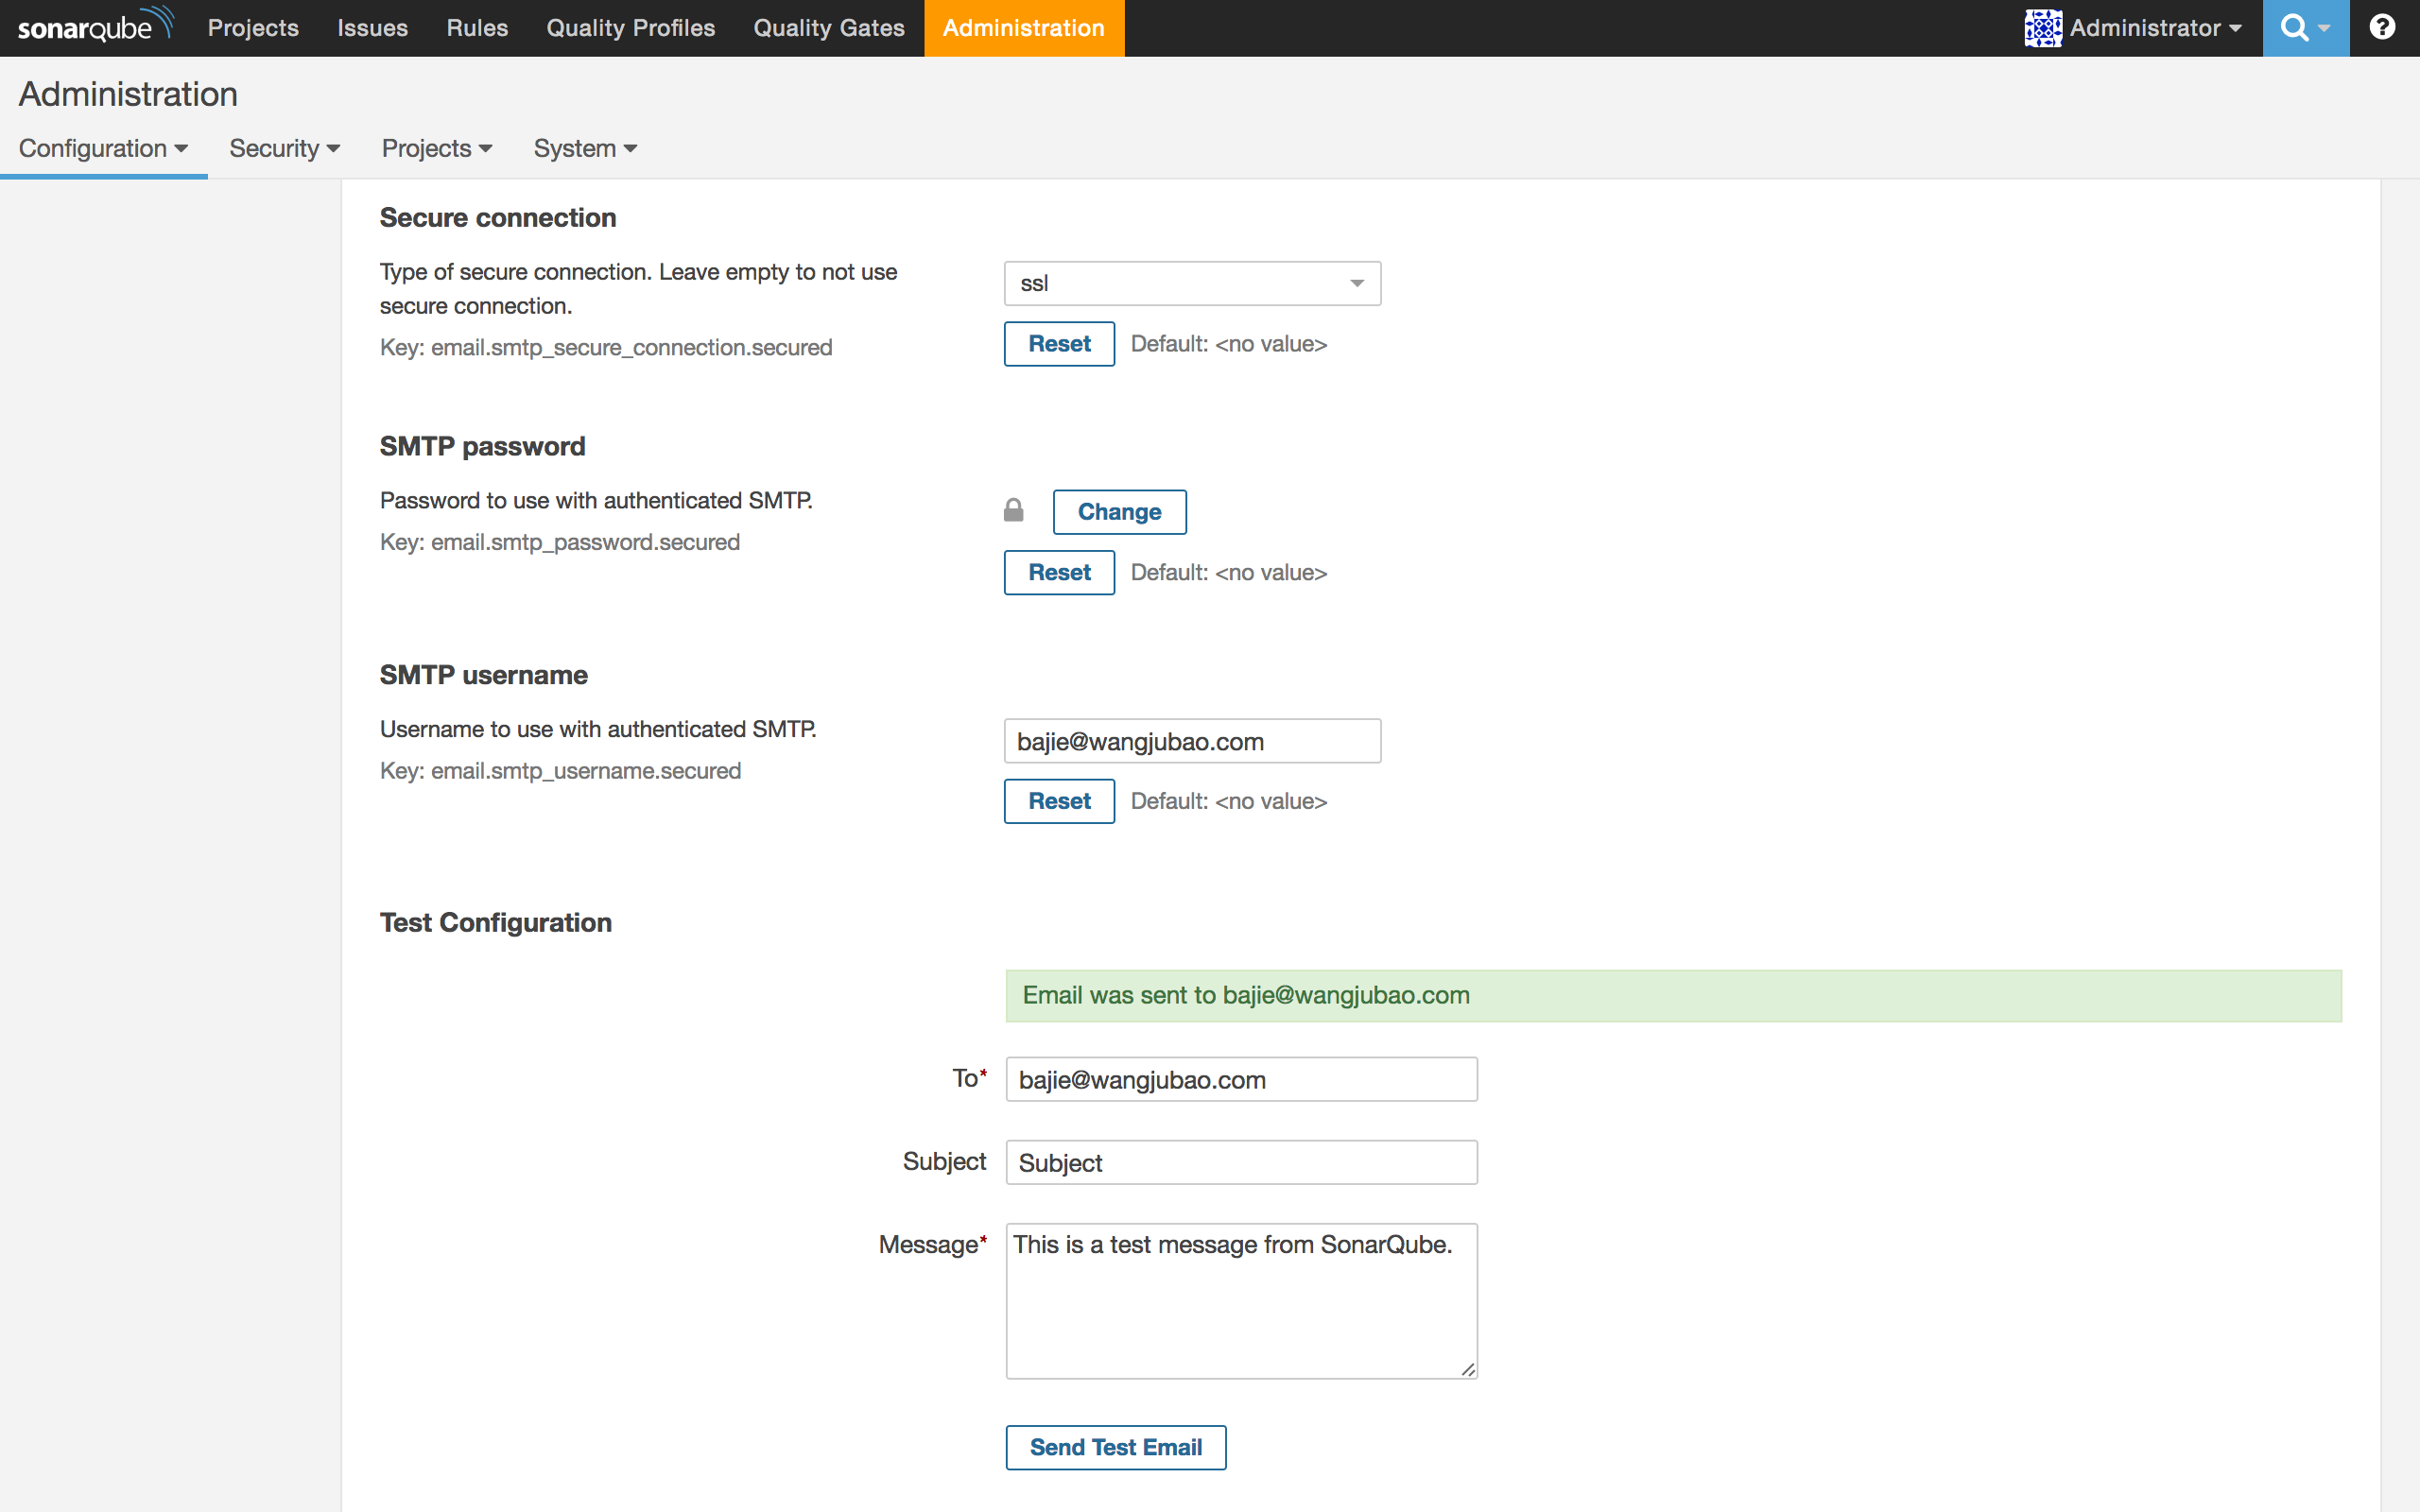
- 在 Sonar 菜单栏中 点击 Administration - (边栏) General - 向下拉找到Email 类别,进行设置并发送测试邮件。

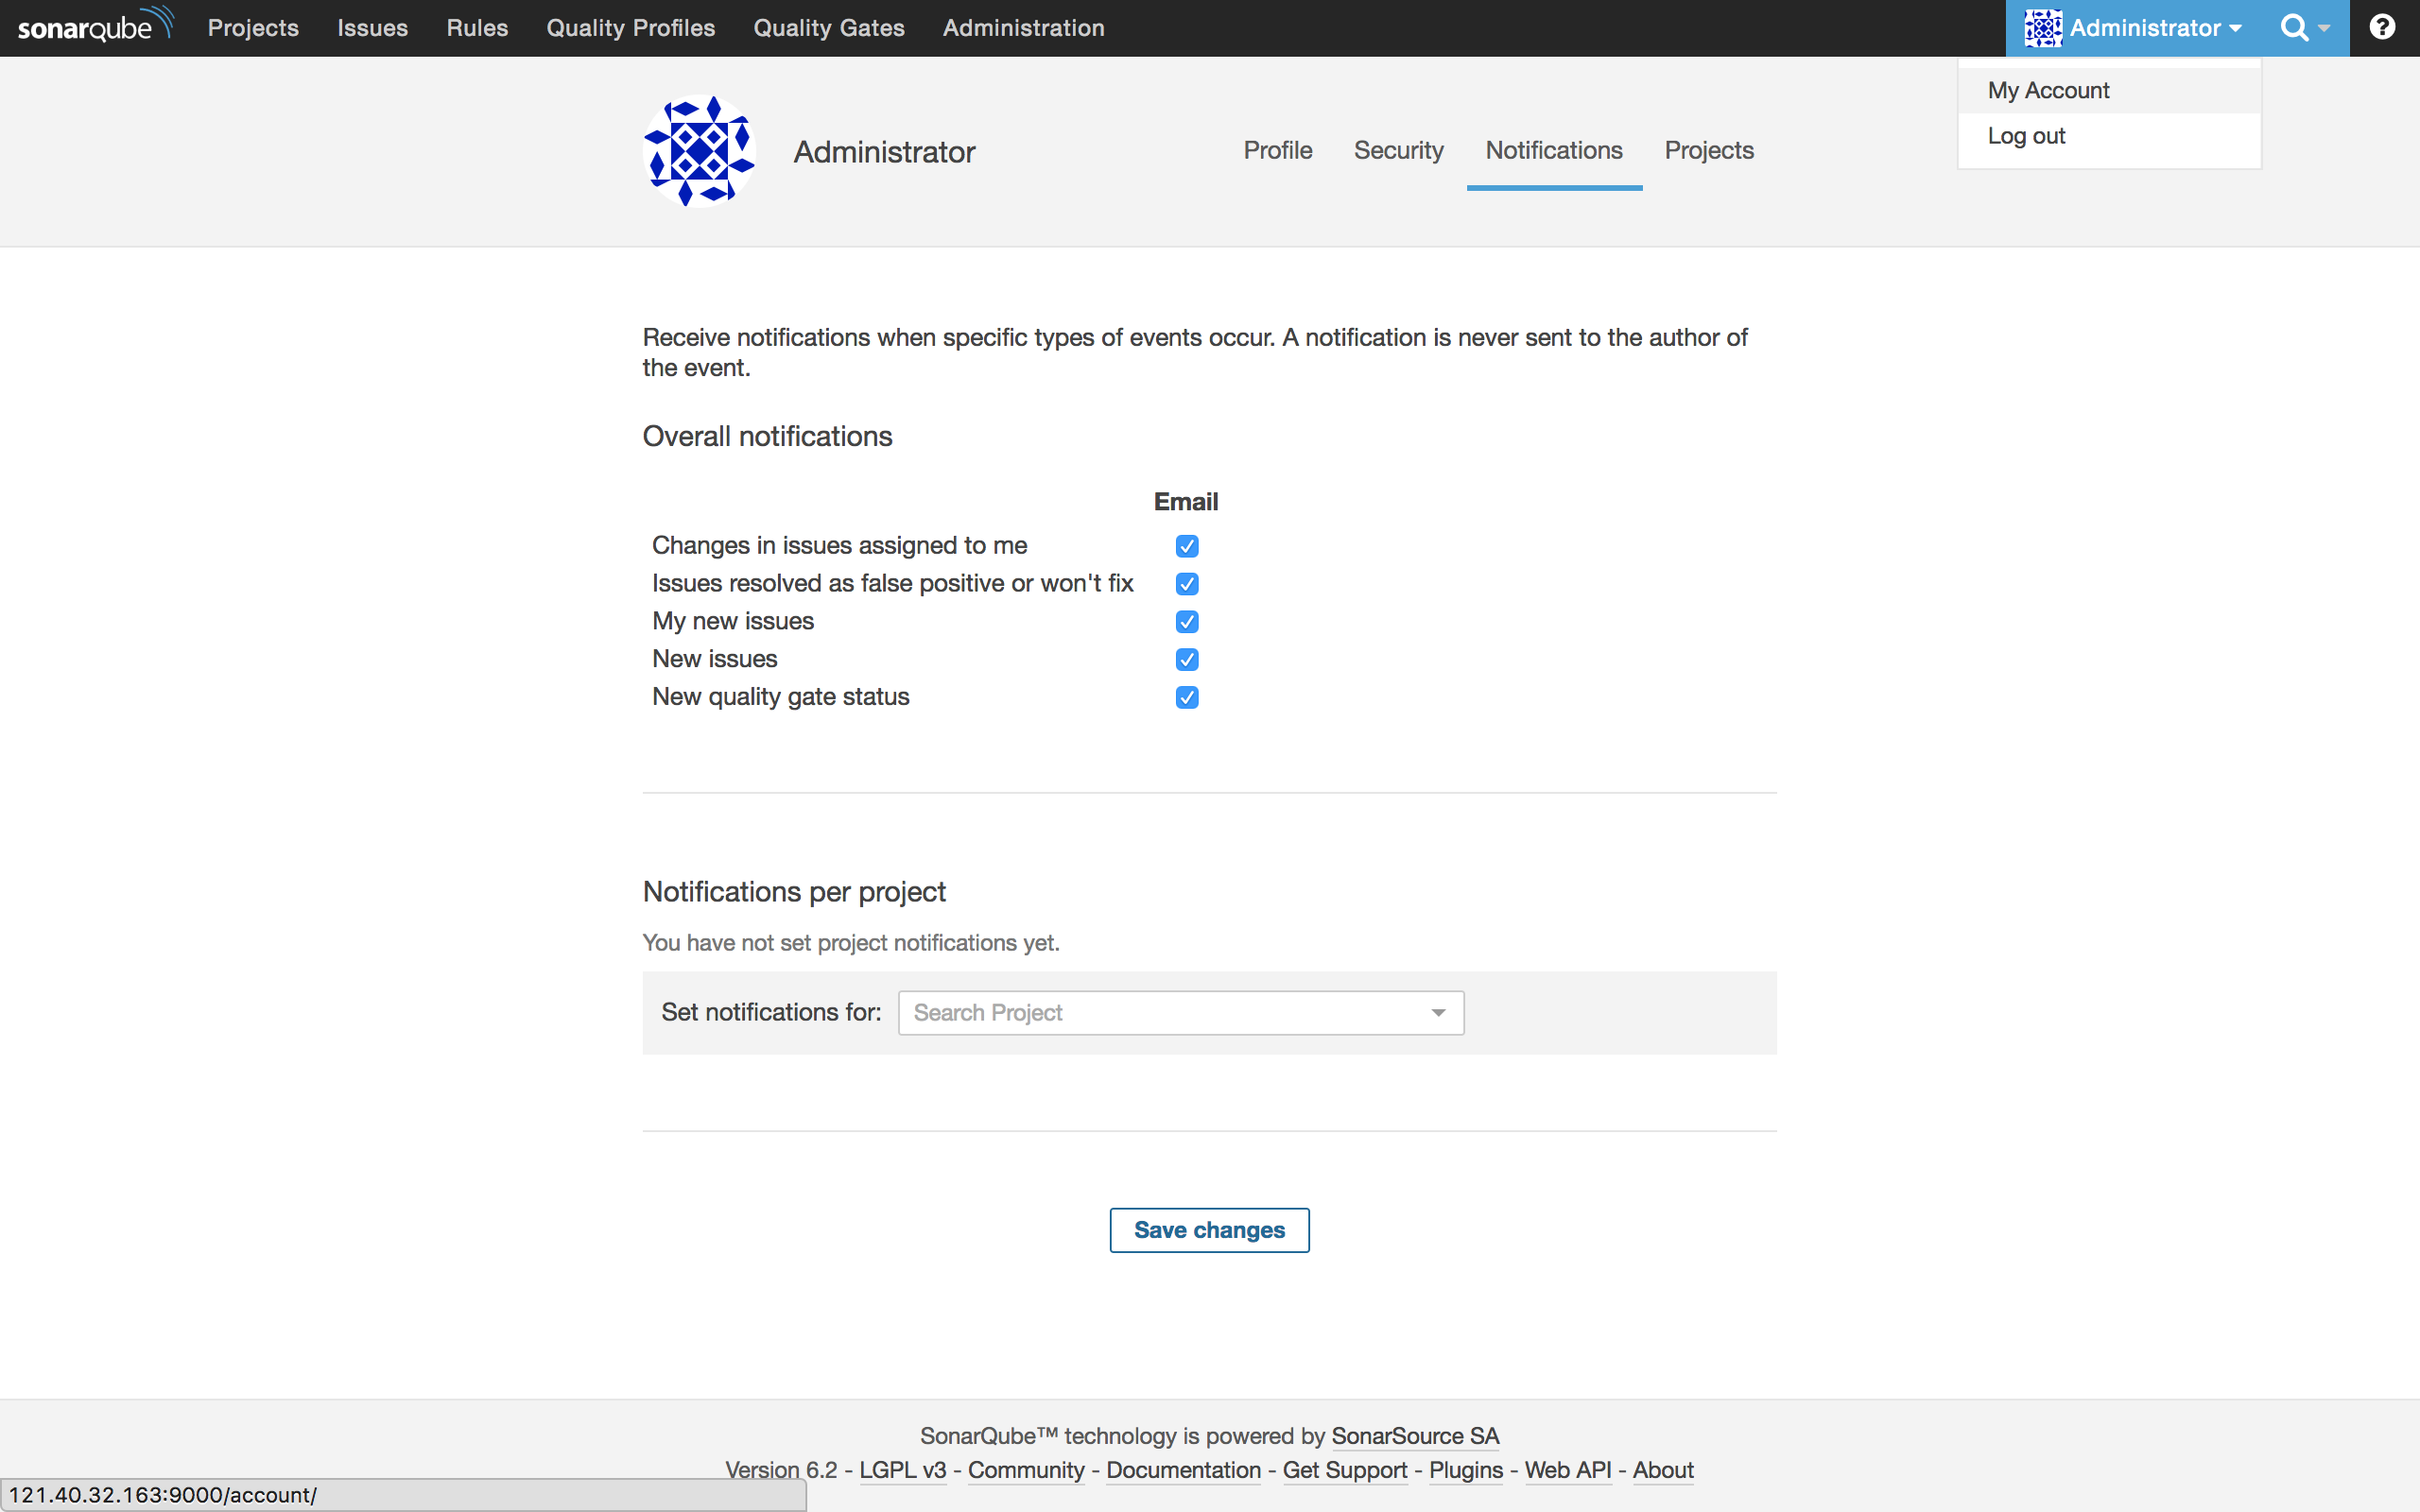
- 在 右上角 My Account 中 , Tab 栏中 选择 Notification,并勾选Email 项目中所有,当项目中 有issue 变动时 即会发送邮件通知到注册账户时填入的邮箱。
项目中 Sonar 使用流程
- 安装本地Sonar 服务器
- 安装SonarLint 插件
- 提交代码前 针对 SonarLint 插件中 所提出的意见进行修改
- 提交代码后 服务器端 自动在 CRP 上进行扫描
- CRP 端自动提交结果到 Sonar 服务器
- 如果项目中仍有异常,自动发送邮件